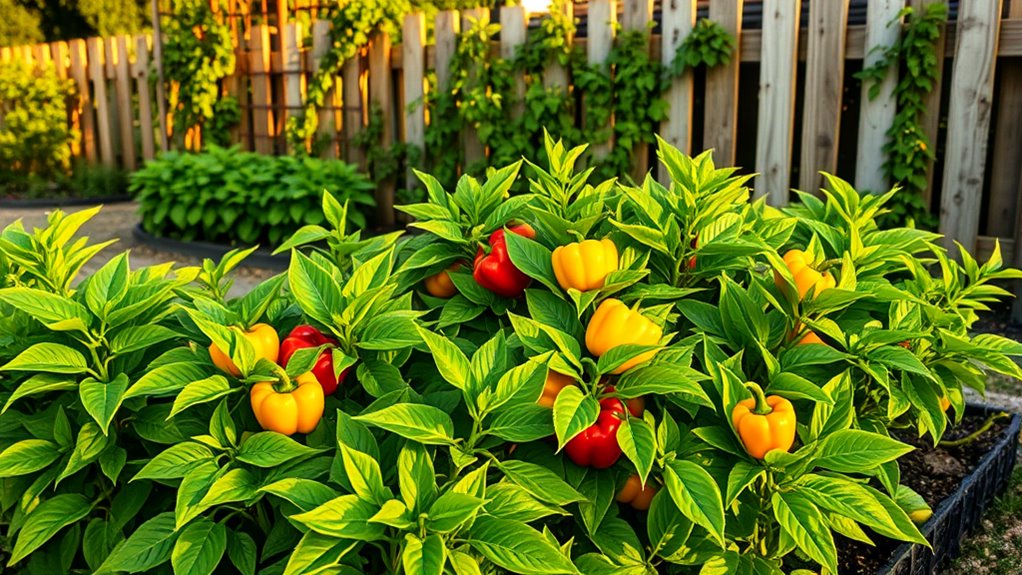
Grow a Salad Garden on Your Windowsill in One Weekend
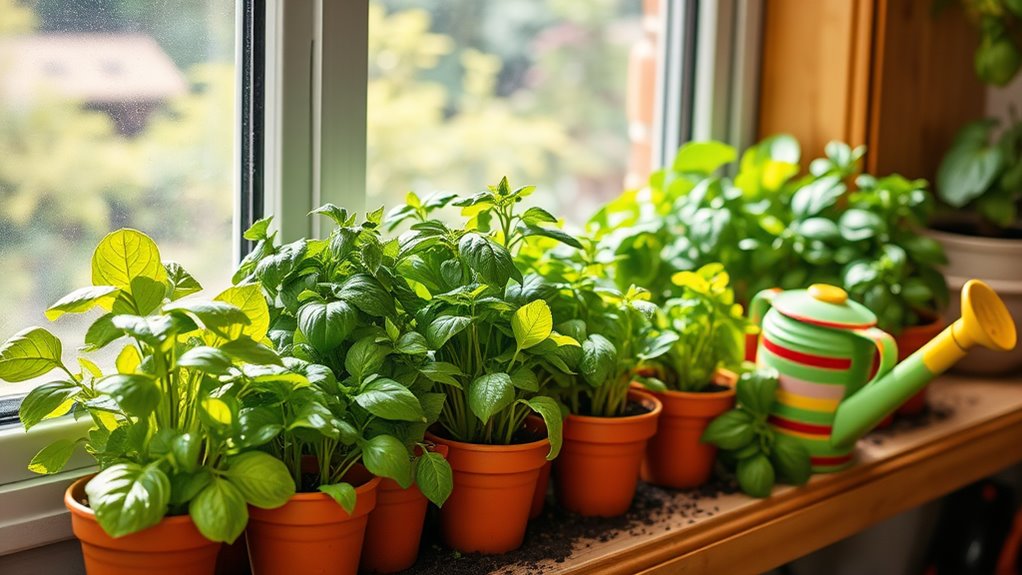
Transforming your windowsill into a salad garden this weekend is easier than you might think. You’ll want to choose fast-growing greens and gather a few essential supplies. With the right soil and seeds, you can create a thriving mini-garden. Understanding the care these plants need is crucial for success. Ready to learn how to set everything up and enjoy fresh salads soon? Let’s get started.
Key Takeaways
- Select fast-growing salad greens like lettuce, spinach, and arugula, and incorporate herbs for diverse flavors.
- Gather pots with drainage holes and quality potting soil, and prepare seed-starting mix.
- Plant seeds in containers, ensuring proper spacing and covering them lightly with soil.
- Maintain soil moisture and provide 12 to 16 hours of light daily for optimal growth.
- Harvest greens at 4-6 inches tall, using scissors for a continuous supply without damaging plants.
Choosing the Right Salad Greens
When it comes to choosing the right salad greens for your windowsill garden, you’ll want to consider both flavor and growth habits. Leafy greens like lettuce, spinach, and arugula thrive in small spaces and offer fresh, vibrant flavors.
Opt for loose-leaf varieties, as they grow quickly and can be harvested multiple times. Consider incorporating herbs like basil or cilantro; they add a unique twist to your indoor salad garden.
Also, think about the light conditions available; greens like Swiss chard and kale can tolerate lower light. With careful selection, you’ll enjoy a bountiful, delicious harvest right from your home. Additionally, many salad greens are easy to grow indoors, making them perfect for your windowsill garden.
Gathering Your Supplies
To successfully grow your salad garden on the windowsill, you’ll need to gather a few essential supplies.
Start with containers—opt for pots or recycled food containers with drainage holes.
Next, choose quality potting soil that retains moisture but drains well.
You’ll also need seeds for your selected salad greens, like lettuce, spinach, or arugula.
Don’t forget a watering can or spray bottle to keep the soil damp.
Lastly, grab a pair of scissors for harvesting and a small notebook to track your progress.
Additionally, consider incorporating best salad greens that thrive in smaller spaces for a more diverse harvest.
With these items in hand, you’re ready to create your thriving windowsill garden!
Preparing the Soil
To grow a thriving salad garden, you need to start with the right soil. Choose a well-draining potting mix that keeps moisture without becoming waterlogged, and consider adding nutrient-rich amendments like compost or worm castings. This combination ensures your greens have the best foundation to thrive and produce delicious leaves. Additionally, incorporating a well-draining potting mix is essential for preventing root rot and promoting healthy growth.
Choosing the Right Soil
The right soil is crucial for your windowsill salad garden’s success. You’ll want a nutrient-rich, well-draining mix to support your plants. Look for a quality potting soil specifically designed for container gardening. You can also enhance it with organic matter, like compost, to boost its fertility.
Here’s a quick reference table to help you choose:
| Soil Type | Benefits | Best For |
|---|---|---|
| Potting Mix | Lightweight, well-draining | Most salad greens |
| Seed Starting Mix | Fine texture, moisture-retentive | Seedlings |
| Compost | Nutrient-rich, improves soil structure | All plants |
Enhancing Soil Drainage
While good soil is essential, enhancing its drainage is just as important for your windowsill salad garden.
Start by mixing in perlite or coarse sand with your potting soil, which helps prevent compaction and allows excess water to escape.
Aim for a ratio of about one part perlite or sand to three parts soil.
Also, ensure your pots have drainage holes; without them, water can pool and suffocate your roots.
Lastly, consider using a layer of small stones or gravel at the bottom of your pots to further improve drainage.
With these adjustments, your plants will thrive!
Nutrient-Rich Additives
Adding nutrient-rich additives to your soil can significantly boost the health and growth of your salad garden.
Start by mixing in compost, which provides essential nutrients and improves soil structure.
You can also add worm castings for a natural fertilizer that enhances microbial activity.
Consider incorporating bone meal for phosphorus, promoting strong root development.
If you want to increase nitrogen levels, use alfalfa meal or fish emulsion.
Finally, a sprinkle of lime can help balance pH levels, ensuring your plants can absorb nutrients effectively.
Mix these additives thoroughly into your soil before planting for optimal results. Happy gardening!
Planting Your Seeds
Ready to get your hands dirty?
Start by filling each container with your nutrient-rich soil, leaving about half an inch from the top.
Next, create small indentations for your seeds—about a quarter-inch deep. Place 2-3 seeds in each hole, ensuring they’re not too crowded.
Cover them gently with soil, then lightly pat down to eliminate air pockets. Water the seeds thoroughly but avoid over-saturating.
Label each container with the seed type and date for easy tracking.
Finally, give them a little love by checking moisture daily. Remember, using nutrient-rich soil will help your plants thrive. You’re on your way to a thriving salad garden right on your windowsill!
Optimal Lighting Conditions
To grow a thriving salad garden on your windowsill, you need to ensure your plants receive the right lighting conditions.
Natural sunlight is ideal, but if your space lacks adequate light, artificial grow lights can be a great substitute.
Aim for about 12 to 16 hours of light each day to keep your greens vibrant and healthy. Additionally, choosing the right artificial grow lights can significantly enhance your herb growth in lower light conditions.
Natural Light Sources
Natural light is the lifeblood of your salad garden, fueling the growth of vibrant greens and crisp vegetables right on your windowsill.
To maximize light exposure, choose a south-facing window, as it provides the most sunlight throughout the day.
If you can, rotate your pots every few days to ensure even light distribution.
Keep the glass clean, as dirt can block essential rays.
Monitor your plants for signs of light deficiency—like leggy growth or yellowing leaves—indicating they need more sun.
Aim for at least six hours of direct sunlight daily to keep your salad garden thriving and healthy.
Artificial Grow Lights
How can you ensure your salad garden thrives even when natural sunlight is limited?
Artificial grow lights are your best bet.
Choose full-spectrum LED lights, as they mimic natural sunlight and provide the right spectrum for photosynthesis.
Position the lights about 6-12 inches above your plants, adjusting as they grow.
Aim for 12-16 hours of light each day to keep your greens healthy and vibrant.
Don’t forget to monitor the temperature; excessive heat can stress your plants.
With the right setup, artificial grow lights can help you cultivate a flourishing salad garden right on your windowsill, regardless of the weather outside.
Light Duration Requirements
Achieving optimal light duration is crucial for the success of your windowsill salad garden.
Most salad greens, like lettuce and spinach, thrive with 12 to 16 hours of light daily.
If you’re using natural sunlight, place your garden by a south-facing window for the best exposure.
During winter months or in low-light conditions, supplement with artificial grow lights to maintain the required duration.
Be sure to position the lights about 6 to 12 inches above the plants and keep them on for 12 to 16 hours, ensuring your greens get the energy they need for healthy growth and vibrant flavors.
Watering and Maintenance
When should you water your salad garden? You should check the soil daily; it should be moist but not soggy.
Water your plants when the top inch feels dry.
Use room temperature water to avoid shocking the roots.
Consider watering in the morning to reduce evaporation and fungal growth.
As for maintenance, trim any yellowing leaves to encourage growth and prevent disease.
Rotate your pots weekly to ensure even light exposure.
Fertilize with a diluted liquid fertilizer every couple of weeks to promote healthy growth.
Keep an eye out for pests and address any issues promptly to maintain a thriving garden. Additionally, incorporating fast salad greens into your mix can yield quicker harvests for your windowsill garden.
Harvesting Your Greens
To enjoy the fruits of your labor, start harvesting your greens as soon as they reach a desirable size, typically around 4 to 6 inches tall. Use sharp scissors to snip leaves just above the soil line, allowing the plant to continue growing. Harvest in the morning for the best flavor and crispness. Remember to only take what you need to encourage further growth. Incorporating cut and come again greens into your garden can provide a continuous supply of fresh produce throughout the season.
| Leaf Type | Best Time to Harvest | Tips |
|---|---|---|
| Lettuce | 4-6 inches | Cut outer leaves first |
| Spinach | 4-6 inches | Harvest before flowering |
| Kale | 8-10 inches | Pick older leaves first |

