Build a DIY Compost Bin With Things You Already Have
Building a DIY compost bin can be a rewarding project that transforms kitchen waste into nutrient-rich soil. You don’t need fancy materials—just things you likely have on hand. Start by choosing a suitable spot in your yard, then gather items like old pallets or buckets. With a few simple steps, you’ll create a functional compost bin that helps the environment and boosts your garden. Wondering how to layer your compost ingredients effectively?
Key Takeaways
- Assess your yard size and sunlight exposure to determine the best location for your compost bin using materials you already have.
- Gather old wooden pallets, wire fencing, or buckets from around your home to create the bin structure.
- Construct a sturdy frame using the gathered materials, ensuring good airflow and easy access for adding compostable scraps.
- Layer compostable materials, mixing greens and browns, while using cardboard for aeration and fabric scraps for moisture retention.
- Maintain the compost by turning it regularly and monitoring moisture, using items you already have to enrich the mixture as needed.
Assessing Your Space for a Compost Bin
Before you dive into building your compost bin, it’s crucial to assess your space to ensure it meets your needs.
Consider the size of your yard or garden; a larger area can accommodate a more substantial DIY compost bin.
Check for sunlight exposure, as compost benefits from warmth.
Keep it away from structures or trees that could block airflow.
Also, think about convenience—place it near your kitchen for easy access to kitchen scraps.
Finally, ensure proper drainage to prevent excess moisture. Additionally, a compact compost bin can help you effectively manage waste even in limited space.
With these factors in mind, you’ll create an efficient and effective composting system tailored to your home.
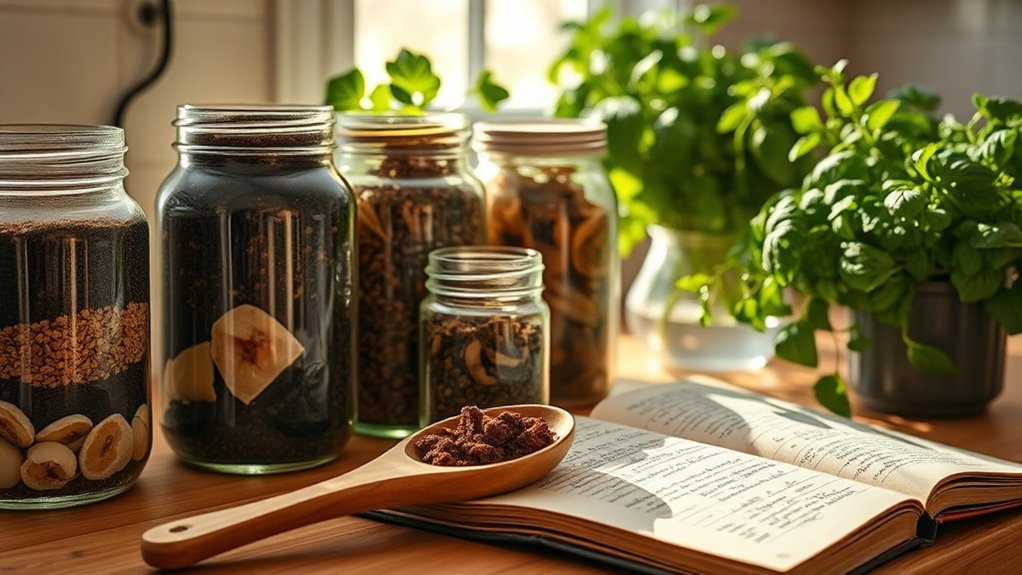
Gathering Materials From Around Your Home
Gathering materials from around your home is an exciting step in creating your DIY compost bin. Look for items that are often overlooked but can be repurposed. Here are some common materials you might find:
| Material | Potential Use |
|---|---|
| Old wooden pallets | Create bin walls |
| Wire fencing | Form a circular structure |
| Buckets or bins | Collect compostable scraps |
| Cardboard boxes | Layer for aeration |
| Fabric scraps | Cover for moisture retention |
By utilizing common household items, you can significantly reduce waste while building an efficient compost bin. Explore your space and get creative! You’ll be surprised at what you can find to build an efficient compost bin.
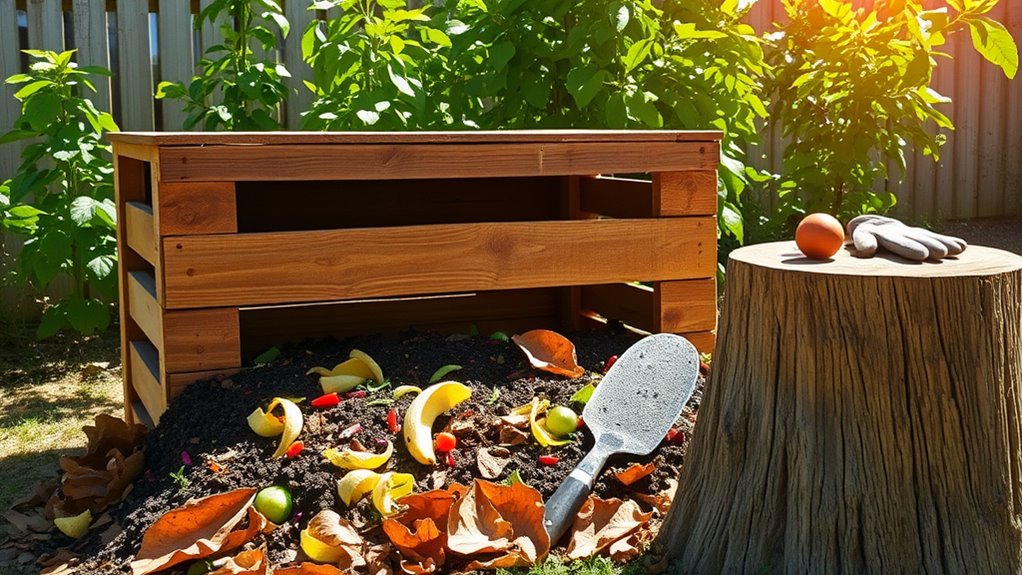
Constructing the Compost Bin Frame
Now that you have your materials ready, it’s time to build the frame of your compost bin.
Start by selecting a suitable location; it should be well-drained and easily accessible.
Depending on your materials, create a square or rectangular frame.
If you’re using pallets, simply stand them upright and connect them with screws or nails.
If you have wooden boards, cut them to your desired size and assemble them using brackets.
Ensure the frame is sturdy yet allows for airflow. Proper airflow is essential for the composting process to break down materials effectively.
Finally, consider adding a removable lid or door for easy access to your compost once it’s ready.
Happy building!
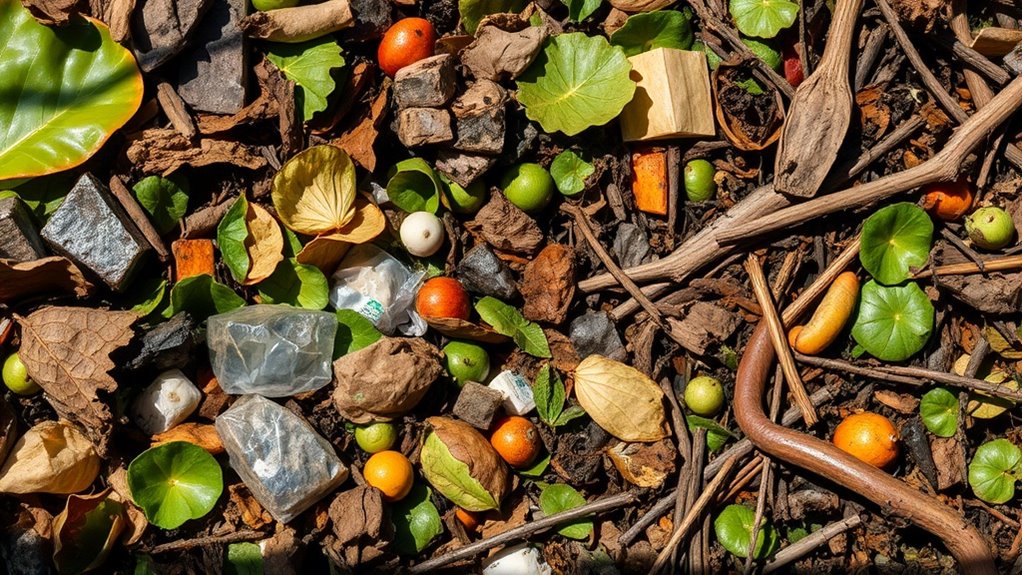
Layering Your Compost Ingredients
Start layering your compost ingredients to create a balanced and effective compost pile.
Begin with a mix of green and brown materials for optimal decomposition.
Here’s what to include:
- Greens: Fruit scraps, vegetable peels, and coffee grounds
- Browns: Dry leaves, cardboard, and straw
- Moisture: Water to keep the pile damp but not soggy
- Air: Turn the pile regularly to introduce oxygen
- Microbes: Add a handful of garden soil or finished compost to kickstart the process
To ensure your composting remains odor-free, maintain the right balance of green and brown materials to facilitate effective decomposition and reduce unpleasant smells.
Maintaining Your Compost Bin
While creating a compost bin is an excellent first step, maintaining it is crucial for achieving rich, nutritious compost. Regularly turning your compost helps aerate it, speeding up decomposition. Keep an eye on moisture levels; your compost should feel like a damp sponge. If it smells bad, add more carbon-rich materials. Incorporating simple techniques can significantly accelerate the decomposition process, allowing you to enjoy your compost sooner.
| Task | Frequency |
|---|---|
| Turn the compost | Every 1-2 weeks |
| Check moisture | Weekly |
| Add materials | As needed |
| Monitor temperature | Weekly |
| Remove finished compost | Every 2-3 months |
Stay engaged, and you’ll have great compost in no time!
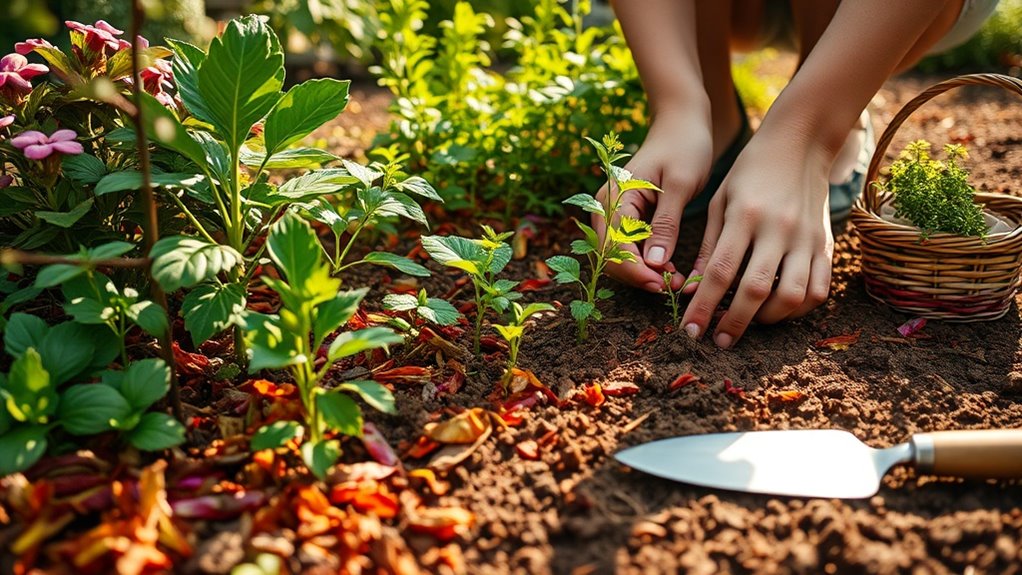
Using Your Finished Compost in the Garden
After you’ve successfully maintained your compost bin and harvested rich, dark compost, it’s time to put that valuable resource to work in your garden.
Incorporating compost into your soil enriches it, promotes healthy plant growth, and improves moisture retention.
Here’s how to use your finished compost effectively:
- Mix it into garden beds before planting.
- Use it as a top dressing for established plants.
- Create nutrient-rich potting soil by blending it with other materials.
- Add it to your vegetable patch for enhanced yields.
- Boost your flower beds for vibrant blooms.
Additionally, using fast composting techniques can help you produce more compost in a shorter amount of time. Embrace your compost and watch your garden thrive!