Clean and Sharpen Your Garden Tools in 10 Minutes or Less
Cleaning and sharpening your garden tools doesn’t have to be a time-consuming task. In just 10 minutes, you can restore your tools to optimal condition, ensuring they work efficiently and last longer. Start by gathering a few essential supplies, and you’ll be ready to tackle the job quickly. Stick around to learn the step-by-step process that makes tool maintenance easy and effective—your garden will thank you.
Key Takeaways
- Fill a bucket with warm, soapy water and soak your tools for a few minutes to loosen debris.
- Scrub tools with a brush, focusing on crevices and blades to remove grime and potential rust.
- Rinse tools thoroughly to eliminate soap residue and inspect for any remaining debris during rinsing.
- Sharpen blades using a file or sharpener, maintaining a consistent angle for effective results.
- Apply lightweight oil to metal parts, wipe off excess, and store tools in a dry, well-ventilated area.
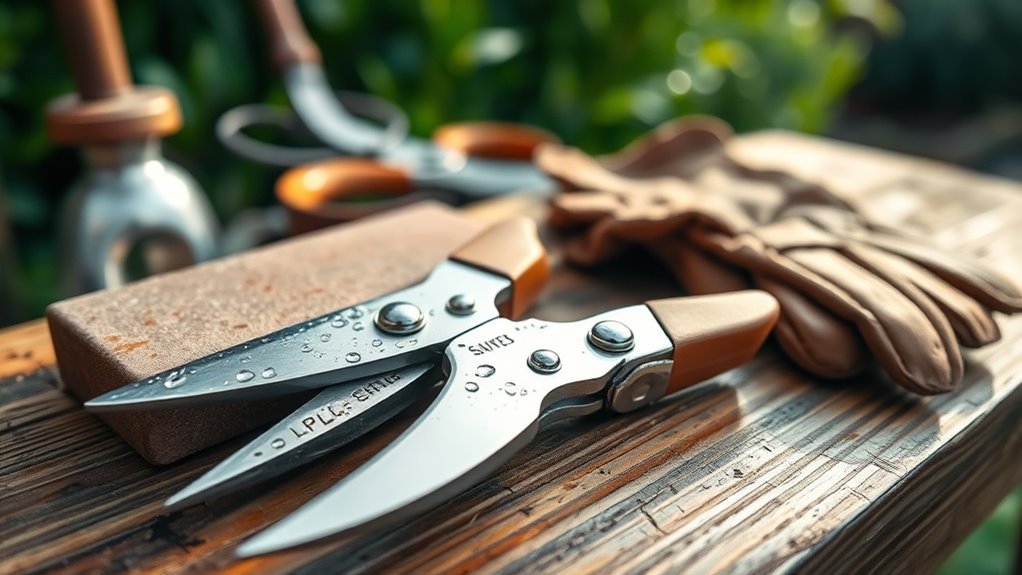
Gather Your Supplies
Before you dive into cleaning and sharpening your garden tools, gather all the necessary supplies to make the process smooth and efficient.
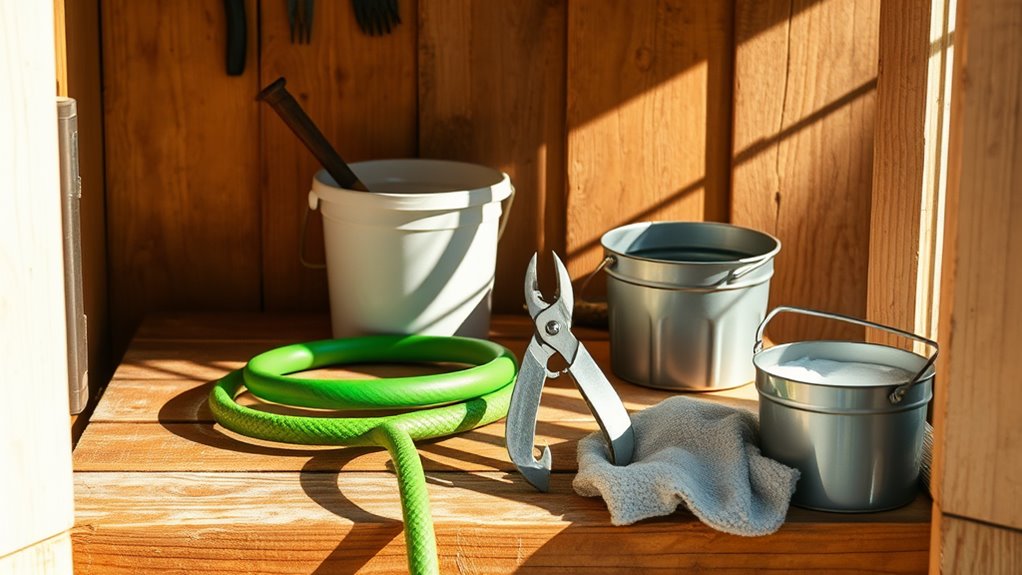
Start with a bucket, soapy water, a scrub brush, and a rag.
Don’t forget a pair of gloves for protection.
For tool care, have a sharpening stone or file on hand, along with some oil to prevent rust.
A wire brush can help remove tough grime.
Lastly, consider a rust remover if your tools have significant corrosion. Cleaning and sharpening your tools regularly will ensure optimal performance and longevity.
Having everything ready will streamline your tool care routine, ensuring you can quickly restore your garden tools to their best condition.
Clean the Tools With Soapy Water
Start by immersing your garden tools in soapy water to remove dirt and grime effectively. Use a bucket filled with warm, soapy water—dish soap works well.
Let the tools soak for a few minutes to loosen any stubborn debris.
Then, grab a scrub brush or sponge and give each tool a good scrub, focusing on crevices and hinges where dirt tends to accumulate. For stubborn spots, a scraper can help.
Once you’ve cleaned all surfaces, be sure to pay extra attention to blades, as they can harbor rust. Regular cleaning is essential to maintain tool longevity and ensure optimal gardening performance.
This step will prepare your tools for the next stages of cleaning.
Rinse and Dry Thoroughly
Once you’ve cleaned your tools with soapy water, it’s time to rinse them thoroughly.
Gather your supplies, including a hose or bucket of clean water, and make sure to remove all soap residue. After rinsing, dry your tools completely to prevent rust and ensure they’re ready for your next gardening session. Additionally, using a simple two-ingredient paste can effectively eliminate any remaining rust and restore your tools to their original condition.
Gather Necessary Supplies
As you prepare to clean and sharpen your garden tools, it’s essential to gather the right supplies to ensure the process is effective.
Start with a bucket or container to hold your tools.
You’ll need a stiff brush to remove dirt and debris, along with soapy water for cleaning.
Don’t forget a clean cloth or towel for drying.
If you’re sharpening blades, grab a sharpening stone or file, and consider safety gloves to protect your hands.
Rinse With Water
Rinse your garden tools thoroughly under running water to remove any remaining soap and loosened dirt.
Make sure to inspect each tool as you rinse, ensuring all debris is washed away.
This step is crucial for maintaining the longevity and effectiveness of your tools.
- Use a spray nozzle for better control.
- Pay extra attention to crevices and joints.
- Rinse both sides of blades and handles.
Dry Completely Afterward
After rinsing, it’s essential to dry your garden tools completely to prevent rust and corrosion.
Use a clean cloth or towel to wipe down each tool, ensuring you reach all the nooks and crannies.
For stubborn moisture, consider using compressed air to blow out water from hard-to-reach areas.
If you’ve got wooden handles, give them special attention; drying them thoroughly protects the wood from splitting.
Once you’ve finished, store your tools in a dry place.
Taking just a few extra minutes to dry your tools can significantly extend their lifespan and maintain their performance for your gardening tasks.
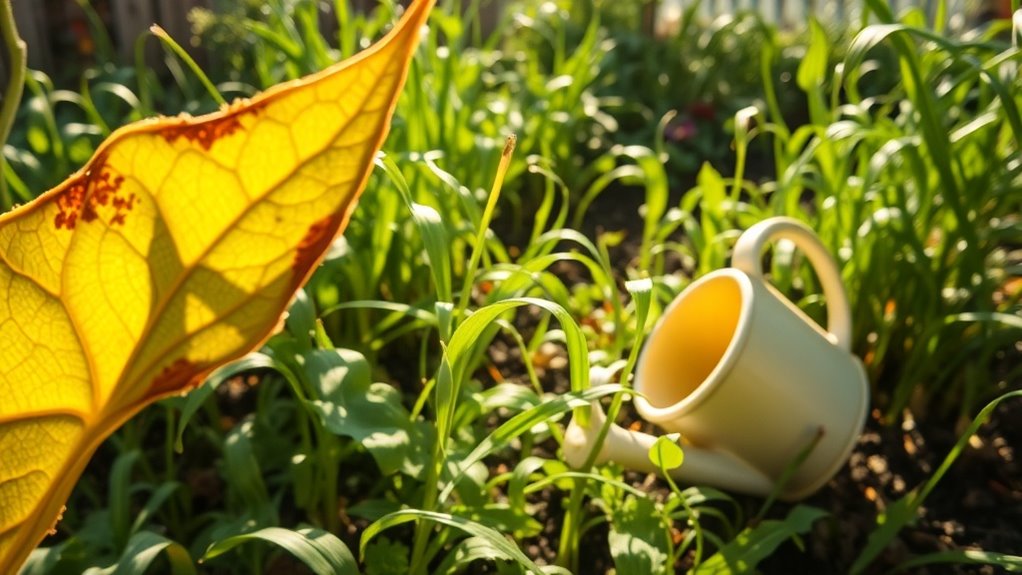
Remove Rust and Debris
To keep your garden tools in top shape, removing rust and debris is essential.
Start by soaking the affected areas in a vinegar solution to loosen the rust, then scrub with steel wool for a thorough clean. This won’t only improve their appearance but also enhance their performance. Additionally, using a simple pantry staple like vinegar can effectively clean rusty tools, ensuring they work efficiently and last longer.
Use Vinegar Solution
Vinegar solution is a powerful ally in your quest to remove rust and debris from garden tools.
Its acetic acid effectively breaks down corrosion and grime without harsh chemicals.
Here’s how to make the most of it:
-
Mix equal parts white vinegar and water in a container.
-
Soak your rusty tools for about 10 minutes to loosen the rust.
-
Rinse thoroughly with water and dry immediately to prevent further rusting.
Using a vinegar solution not only cleans your tools but also helps prolong their lifespan.
You’ll be amazed at how effective this simple solution can be!
Scrub With Steel Wool
Grab a piece of steel wool and get ready to tackle stubborn rust and debris on your garden tools.
Start by dampening the steel wool with water or a mild cleaning solution for better results.
Firmly scrub the rusty areas, applying enough pressure to lift the rust without damaging the metal.
Move in small circular motions, ensuring you cover all affected spots.
Rinse the tool with water to remove any residue, then dry it thoroughly to prevent future rusting.
Regularly scrubbing your tools with steel wool keeps them in good shape, extending their lifespan and enhancing your gardening experience.
Sharpen Blades With a File or Sharpener
Sharpening your garden tools is essential for maintaining their efficiency and longevity, and using a file or sharpener can make this task straightforward.
Here’s how to do it effectively:
- Choose the right tool: Use a flat file for straight blades and a round file for curved edges.
- Maintain the angle: Keep a consistent angle (about 20 degrees) while sharpening to ensure a sharp edge.
- Test the sharpness: After sharpening, test the blade on a piece of paper; it should slice cleanly.
Additionally, regularly cleaning your tools can prevent rust and prolong their life. With just a few minutes of focused effort, you’ll enhance your tools’ performance significantly.
Oil the Metal Parts
To keep your garden tools in top shape, oiling the metal parts is crucial for preventing rust and ensuring smooth operation.
Start by choosing a lightweight oil, like mineral or vegetable oil. Apply a few drops directly onto the metal surfaces, focusing on hinges, blades, and any moving parts. Use a clean rag to spread the oil evenly, wiping away any excess.
This not only protects against moisture but also reduces friction, keeping your tools functioning effectively.
Make it a habit to oil your tools after each use, especially if they’re exposed to damp conditions. You’ll extend their lifespan significantly.
Store Tools Properly for Longevity
Properly storing your garden tools can significantly extend their lifespan and enhance their performance.
To ensure your tools remain in top shape, follow these simple guidelines:
- Hang tools: Use hooks or pegboards to prevent rust and damage.
- Keep dry: Store tools in a well-ventilated, dry area to avoid moisture buildup.
- Organize: Maintain a tidy storage space, making it easy to find and access your tools.