Clean Rusty Tools Using This Pantry Staple
Rust on your metal tools can feel like a disaster waiting to happen. Thankfully, there’s a simple solution hiding right in your pantry that can bring those tools back to life. You’ll want to know how to effectively tackle rust without resorting to harsh chemicals. With just a few steps, you can restore your tools and keep them in top shape. Let’s explore how you can turn that pantry staple into your rust-fighting ally.
Key Takeaways
- Use vinegar, as its acetic acid effectively breaks down rust on metal tools.
- Soak rusty tools in vinegar overnight for maximum rust removal.
- For hand tools, apply vinegar with a cloth and scrub gently.
- Rinse tools thoroughly with clean water after soaking to remove residue.
- Dry tools immediately to prevent new rust formation and maintain functionality.
Understanding Rust and Its Impact on Tools
Rust can creep onto your tools like an unwelcome guest, affecting their performance and lifespan. Understanding rust is essential for keeping your tools in top shape. It forms when moisture and oxygen react with iron, leading to decay and reduced functionality. You might notice rust on your favorite tools, making them less effective and harder to use. To combat this, rust cleaning tools become your best allies. Regular maintenance, including cleaning and storing your tools properly, prevents rust buildup. Additionally, using a simple pantry staple can help restore your tools to their former glory.
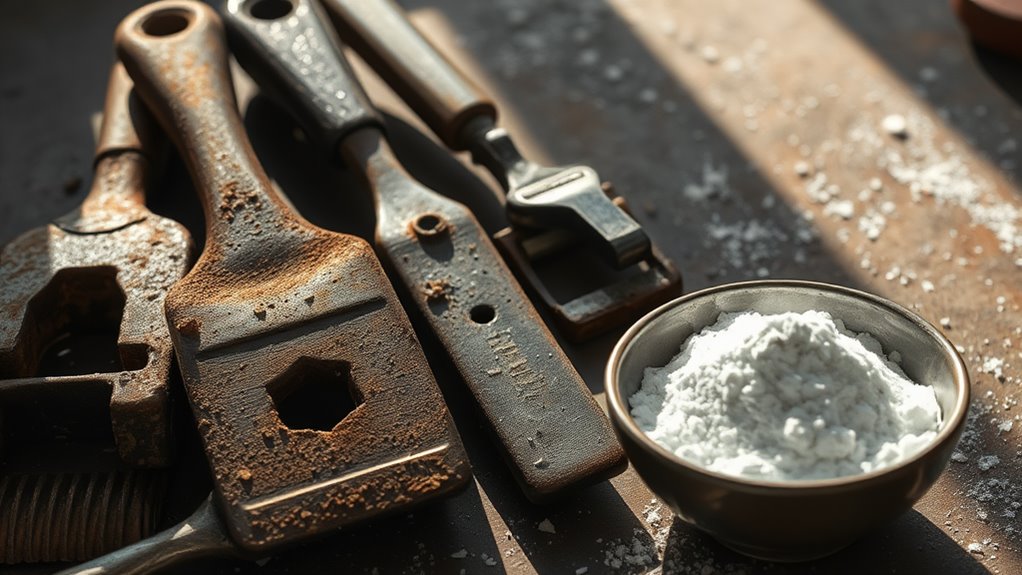
The Pantry Staple You Need
Have you ever considered using a simple pantry staple to tackle rust on your tools? Believe it or not, vinegar is your best friend for this job! Its acetic acid breaks down rust effectively, making your tools look brand new. Additionally, this method utilizes a simple two-ingredient paste that combines vinegar with baking soda for even better results.
| Tool Type | Cleaning Method |
|---|---|
| Metal Tools | Soak in vinegar overnight |
| Hand Tools | Apply vinegar with a cloth |
| Garden Tools | Scrub with a brush soaked in vinegar |
Using vinegar not only saves you money but also keeps your tools in top shape. Give it a try and see the results for yourself!
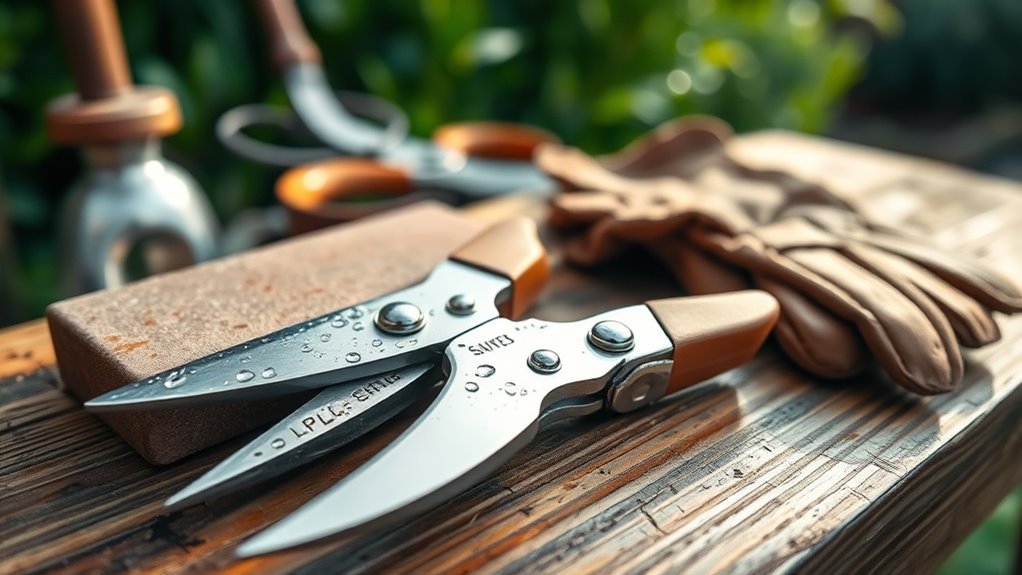
Preparing Your Tools for Cleaning
Before you dive into cleaning your tools, it’s crucial to prepare them properly for the best results.
Start by gathering your rusty tools in a well-lit workspace, making it easier to assess their condition.
Remove any loose debris or dirt with a soft brush or cloth.
If your tools have wooden handles, inspect them for damage and sand them lightly if needed.
Make sure you have your pantry staple ready for the cleaning process.
Finally, wear gloves to protect your hands from rust and any cleaning agents you’ll use.
This preparation sets the stage for effective and safe cleaning, as cleaning tools regularly ensures optimal performance and longevity.
Step-by-Step Cleaning Process
Now that your tools are prepped, it’s time to tackle the cleaning process. Start by gathering all the necessary supplies, then apply your chosen cleaning solution to the rust. Regular maintenance is crucial for tool longevity, so make sure to rinse and dry the tools thoroughly to prevent further corrosion.
Gather Necessary Supplies
To effectively clean rusty tools, you’ll need to gather a few essential supplies that will make the process smoother and more efficient.
Start with your pantry staple—vinegar.
You’ll also want a scrub brush or steel wool for scrubbing off the rust.
Don’t forget to grab some rags or paper towels for drying and polishing your tools afterward.
A container or bucket for soaking the tools in vinegar is helpful too.
Lastly, consider wearing gloves to protect your hands during the cleaning process.
With these supplies at hand, you’re ready to tackle that rust and restore your tools to their former glory!
Apply Cleaning Solution
Start by immersing your rusty tools in the vinegar solution, allowing the acetic acid to work its magic on the corrosion.
Make sure the tools are fully submerged for optimal results.
Let them soak for at least 30 minutes, or longer for heavy rust.
During this time, you can gently scrub the rusted areas with a brush or cloth to enhance the cleaning process.
Keep an eye on the tools; if the rust starts to lift, you’ll know the solution’s doing its job.
Once you’ve allowed enough time for the vinegar to act, you’ll be ready for the next steps.
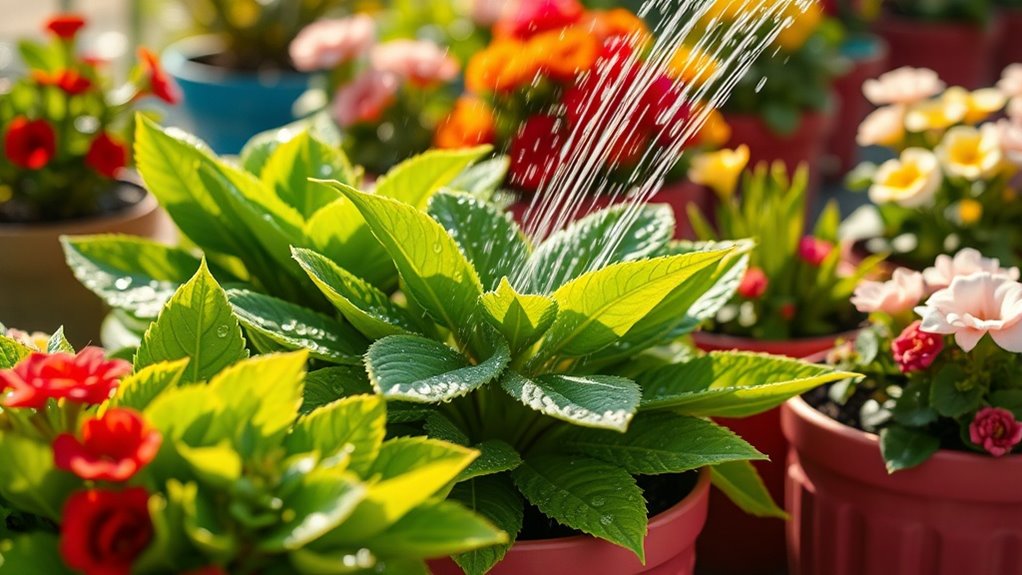
Rinse and Dry
After soaking your tools in the vinegar solution, it’s time to rinse them thoroughly to remove any lingering residue and loosened rust. Start by using a hose or bucket of clean water, ensuring all the vinegar is washed away. For stubborn spots, a soft brush can help. Once rinsed, dry your tools immediately using a clean cloth to prevent new rust from forming.
| Step | Action |
|---|---|
| 1 | Rinse tools with clean water |
| 2 | Use a soft brush on stubborn rust |
| 3 | Dry with a clean cloth |
| 4 | Inspect for remaining rust |
| 5 | Store tools properly |
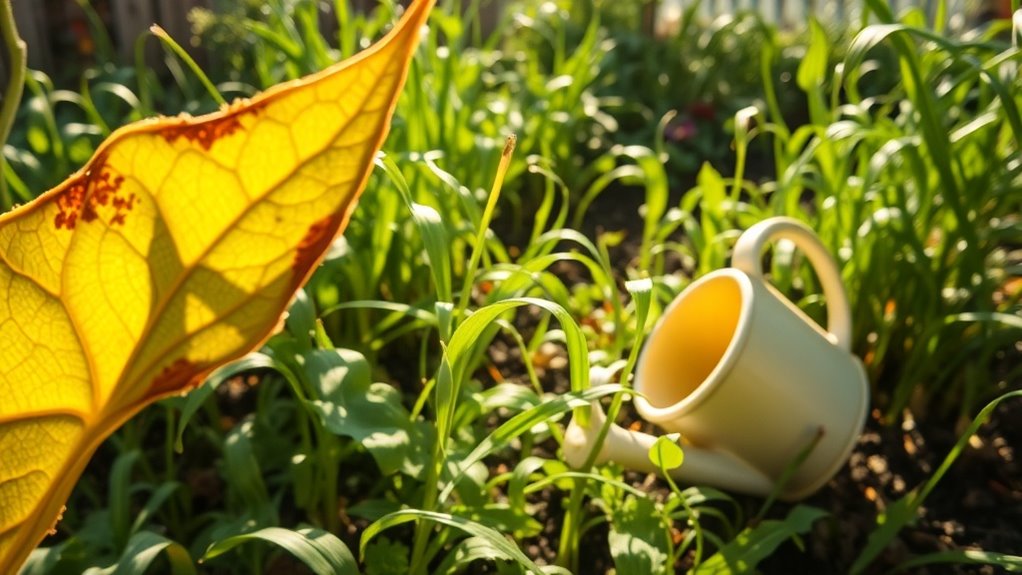
Preventing Future Rust Formation
How can you keep your tools rust-free for the long haul?
Start by storing them in a dry, climate-controlled area. Humidity’s a rust enemy, so consider using silica gel packs or a dehumidifier in your workspace. Apply a light coat of oil to metal surfaces after cleaning; this creates a protective barrier against moisture. Regularly inspect your tools for any signs of rust and address them immediately. Lastly, avoid leaving tools in damp environments or using them in wet conditions whenever possible. Additionally, using essential garden tools can help you maintain your gardening tasks without compromising tool integrity. With these simple steps, you’ll extend the life of your tools and keep rust at bay.
Maintaining Your Tools for Longevity
To keep your tools in top shape, establish a regular cleaning schedule that fits your usage patterns. Proper storage techniques, like keeping them dry and organized, can also make a significant difference in their lifespan. Additionally, using natural solutions such as vinegar for pest control can help maintain a clean and safe gardening environment.
Regular Cleaning Schedule
Establishing a regular cleaning schedule for your tools is crucial for maintaining their longevity and performance. By dedicating a few minutes after each use, you can prevent rust and damage. Here’s a simple schedule to follow:
| Frequency | Task |
|---|---|
| After Each Use | Wipe down tools with oil |
| Weekly | Inspect for rust and damage |
| Monthly | Deep clean and lubricate |
Stick to this routine, and you’ll ensure your tools stay in top shape. A little effort goes a long way in prolonging their life and enhancing your working experience.
Proper Storage Techniques
Proper storage techniques play a vital role in extending the life of your tools and keeping them in optimal condition.
Always store tools in a dry, temperature-controlled environment to prevent rust and corrosion.
Use pegboards or magnetic strips for easy access and visibility.
For hand tools, consider placing them in dedicated organizers or toolboxes to minimize movement and potential damage.
Avoid leaving tools exposed to moisture or direct sunlight.
Lastly, regularly inspect your storage area for any signs of dampness or pests.