Grow a Mini Salad Bar on Your Windowsill-Here’s How
Imagine turning your windowsill into a vibrant patch of greens, where fresh salads are just a snip away. Growing a mini salad bar is not only practical but also rewarding. With the right selection of fast-growing greens and some essential care tips, you can enjoy crisp, homegrown salads in just weeks. Curious about how to get started? Let’s explore the steps to create your own salad sanctuary right at home.
Key Takeaways
- Choose fast-growing salad greens like lettuce, arugula, and spinach that thrive in 6-8 hours of sunlight.
- Select containers at least 6-8 inches deep with drainage holes, ensuring they fit your windowsill.
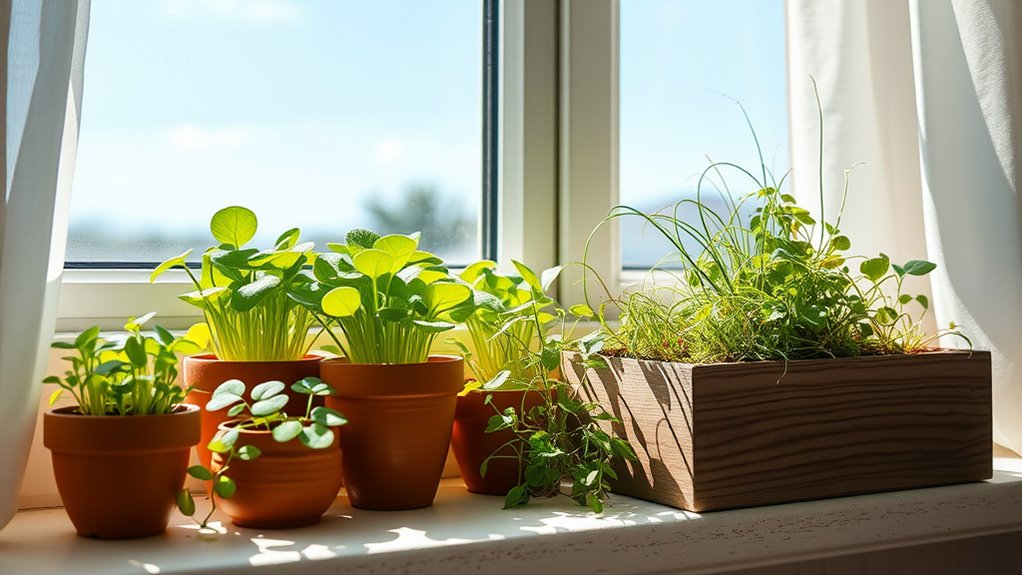
- Arrange greens by height, placing taller varieties like spinach at the back for optimal space utilization.
- Water consistently to keep soil moist and apply balanced fertilizer every few weeks for healthy growth.
- Harvest leaves when young and tender, using scissors to snip outer leaves for continuous yields.
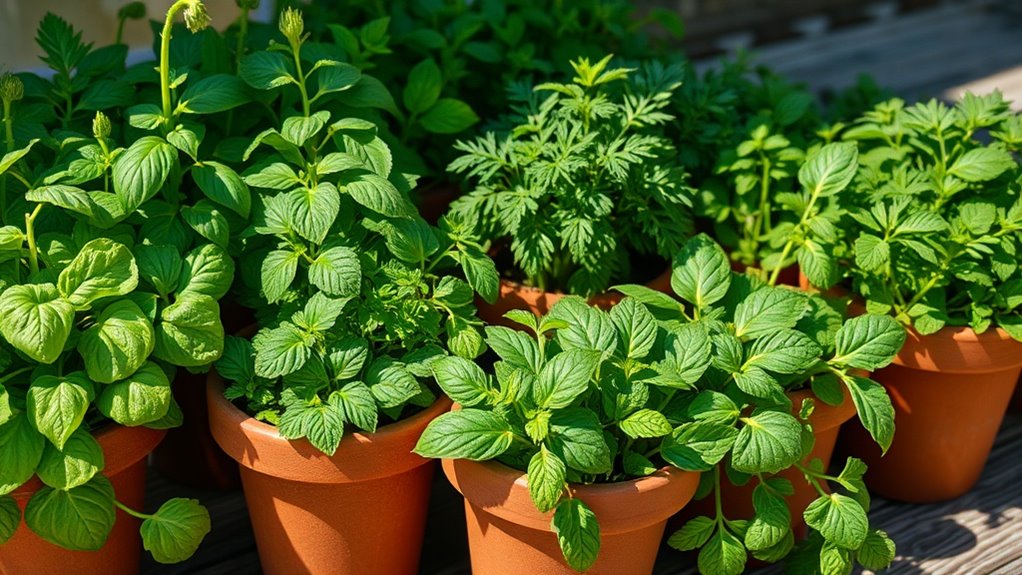
Selecting the Best Salad Greens for Your Windowsill
When you’re picking the best salad greens for your windowsill, what factors should you consider?
First, think about the amount of sunlight your space gets; most greens thrive in 6-8 hours of light.
Opt for fast-growing varieties like arugula, lettuce, or spinach, as they’ll provide quick harvests.
Consider the temperature too, as greens typically prefer cooler conditions.
Choose varieties that are compact, fitting well in small spaces.
Lastly, ensure they’re suited for container growing; many salad greens adapt well to this environment, making them perfect for your windowsill salad garden. Additionally, incorporating key factors in successful gardening can significantly enhance your indoor garden’s productivity.
Enjoy fresh greens right from your home!
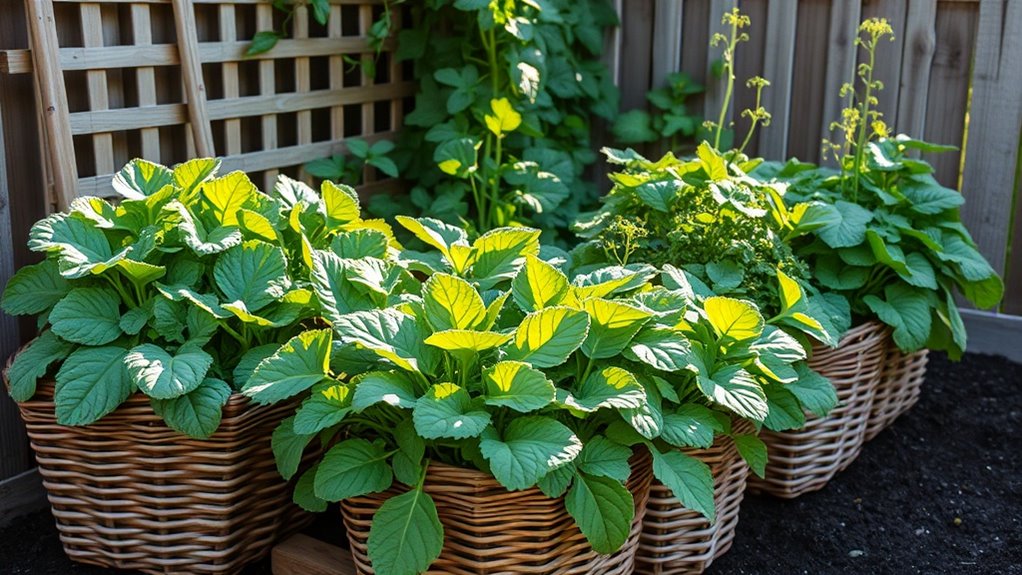
Choosing the Right Containers for Your Mini Salad Bar
How do you choose the perfect containers for your mini salad bar?
First, consider drainage; select pots with holes at the bottom to prevent overwatering.
Materials like terracotta or plastic are lightweight and retain moisture well.
Next, think about size; choose containers that are deep enough—at least 6-8 inches—to allow roots to grow.
Group smaller containers for different greens to maximize space.
Don’t forget aesthetics; colorful pots can brighten your kitchen.
Finally, ensure they fit your windowsill’s sunlight exposure, as this affects growth. Additionally, container materials play a crucial role in moisture retention and root health.
With the right containers, you’ll create a thriving mini salad bar right at home!
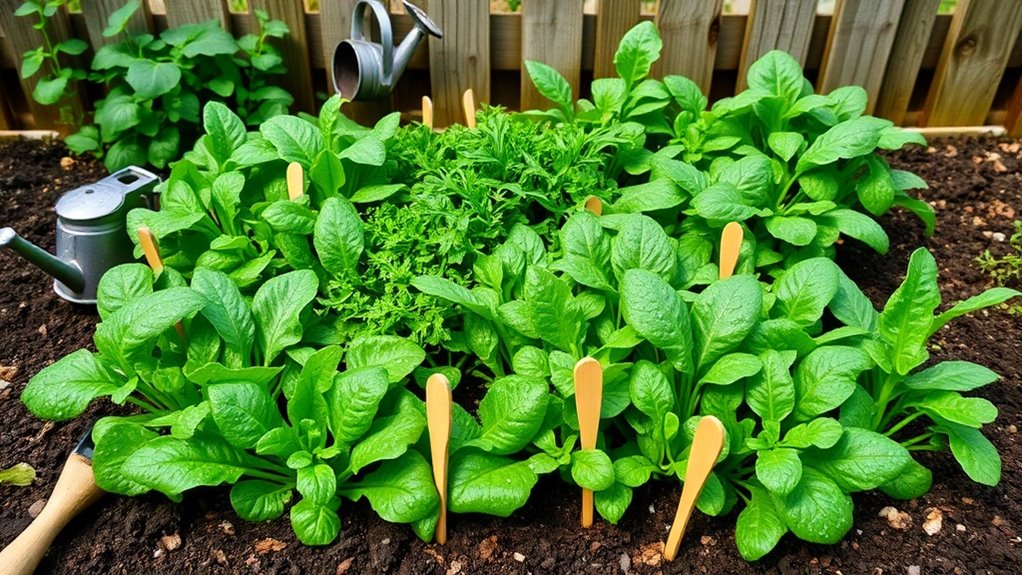
Planting and Arranging Your Salad Greens
Plant your salad greens with intention to ensure a flourishing mini garden.
Start by selecting a variety of greens that complement each other, like lettuce, arugula, and spinach.
Next, follow these steps for optimal arrangement:
-
Layering: Place taller greens, such as spinach, at the back and shorter ones, like arugula, at the front for easy access.
-
Spacing: Give each plant enough room to grow; this prevents overcrowding and promotes healthy development.
-
Companion Planting: Consider adding herbs like basil or cilantro, which can deter pests and enhance flavors. Additionally, salad bowl gardening can help you maximize your harvest in a small space.
With careful planning, your mini salad bar will thrive!
Essential Care Tips for a Thriving Salad Garden
Maintaining a thriving salad garden on your windowsill requires consistent care and attention.
Ensure your plants receive at least 6 hours of sunlight daily; if natural light is limited, consider using grow lights.
Water your greens regularly, keeping the soil consistently moist but not soggy.
Use a balanced, water-soluble fertilizer every few weeks to boost growth.
Regularly check for pests and address issues promptly to prevent infestations.
Prune your plants to encourage bushier growth and remove any yellowing leaves.
Lastly, rotate your pots occasionally to ensure even sunlight exposure, promoting healthy, vibrant salad greens.
Additionally, growing salad greens in containers on your windowsill can maximize limited space and yield a continuous harvest.
Your care will yield delicious results!
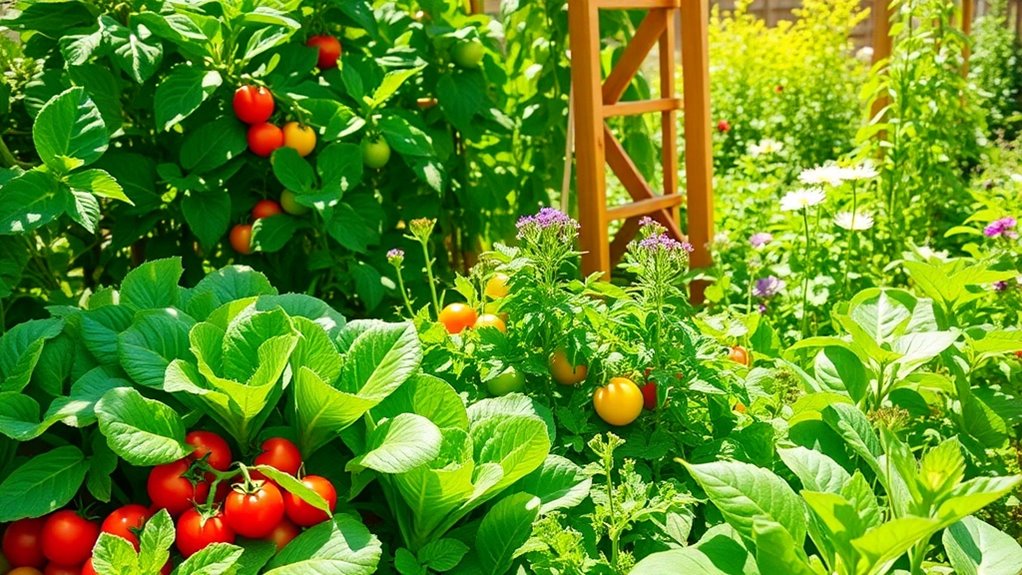
Harvesting and Enjoying Your Fresh Salad Greens
Harvesting your salad greens is simple and rewarding.
Here’s how to do it:
- Timing is key: Pick your greens when they’re young and tender, usually 4-6 weeks after planting.
- Use sharp scissors: Snip the outer leaves just above the base, leaving the inner leaves to keep growing.
- Rinse and dry: Wash the harvested greens gently in cold water, then pat them dry with a clean towel.
Additionally, remember that many cut and come again greens can be harvested multiple times throughout the season, providing a continuous harvest of fresh flavors.
Now, toss your fresh greens into a salad, add your favorite toppings, and savor the vibrant flavors of your mini salad bar!