I Make This Fertilizer From Kitchen Scraps-It Works Wonders
Did you know that kitchen scraps can become your garden’s best ally? By repurposing vegetable peels, coffee grounds, and eggshells, you can create a powerful fertilizer that enriches your soil and promotes plant growth. It’s an easy and eco-friendly way to make the most of your waste. Want to learn how to turn your leftovers into a garden powerhouse? Let’s explore the simple steps to transform your kitchen waste into a valuable resource for your plants.
Benefits of Using Kitchen Scraps as Fertilizer
Using kitchen scraps as fertilizer not only reduces waste but also enriches your garden soil with essential nutrients.
When you create your own DIY organic fertilizer, you enhance soil structure, promote microbial activity, and improve moisture retention.
Plus, it’s cost-effective and environmentally friendly. By recycling what you already have, you contribute to a healthier garden ecosystem while minimizing landfill contributions. Additionally, homemade fertilizer can provide a diverse array of nutrients that commercial fertilizers may lack.
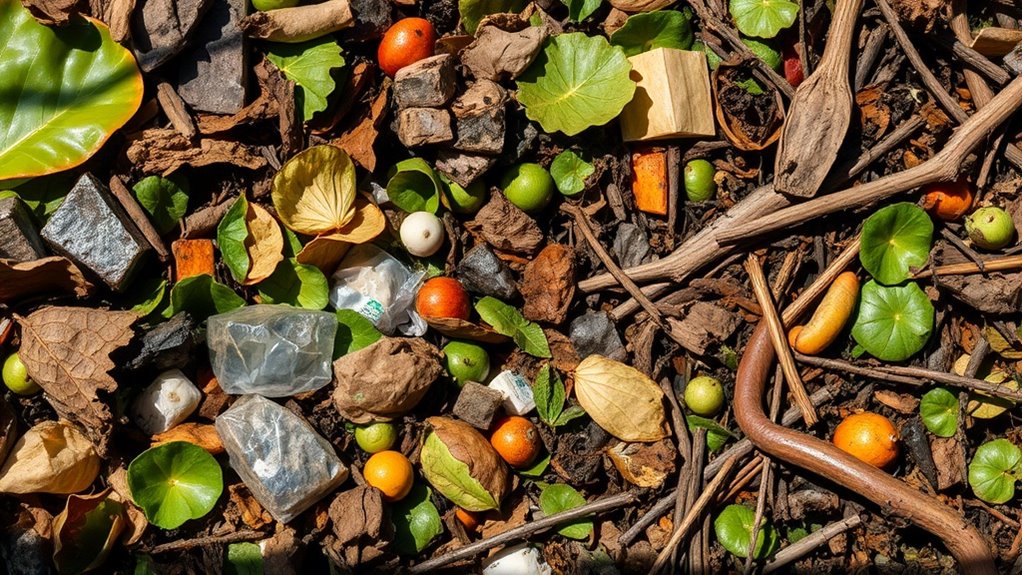
What Kitchen Scraps to Collect
Collecting the right kitchen scraps can significantly boost your garden’s vitality. Here are four fantastic items to gather:
- Vegetable peels, like potatoes or carrots
- Coffee grounds, rich in nitrogen
- Eggshells, providing calcium
- Fruit scraps, such as apple cores
These nutrient-dense scraps not only reduce waste but also enrich your soil, promoting a thriving garden. Additionally, banana peels are excellent sources of potassium and phosphorus, which are essential for healthy plant growth.
Start saving them today!
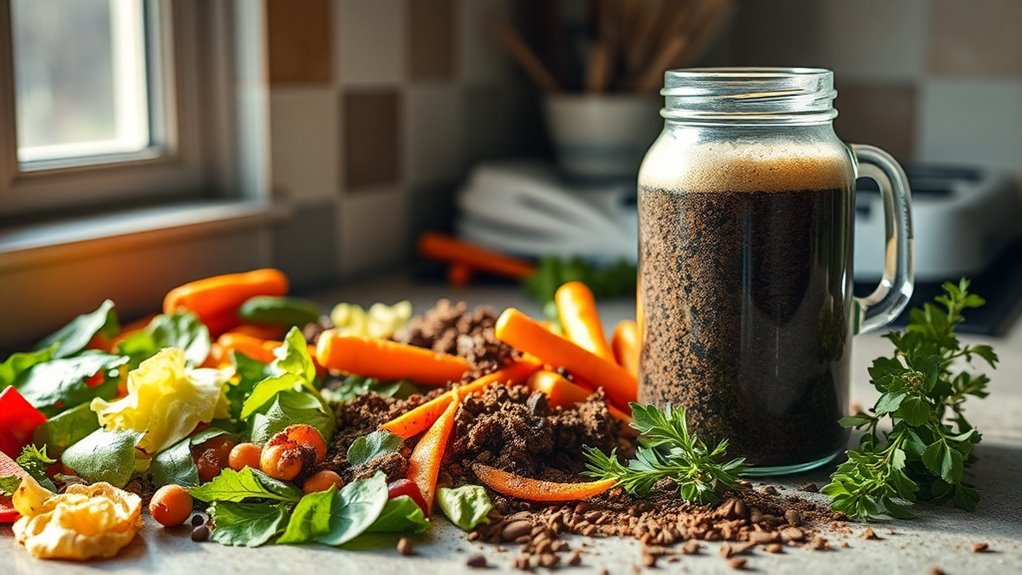
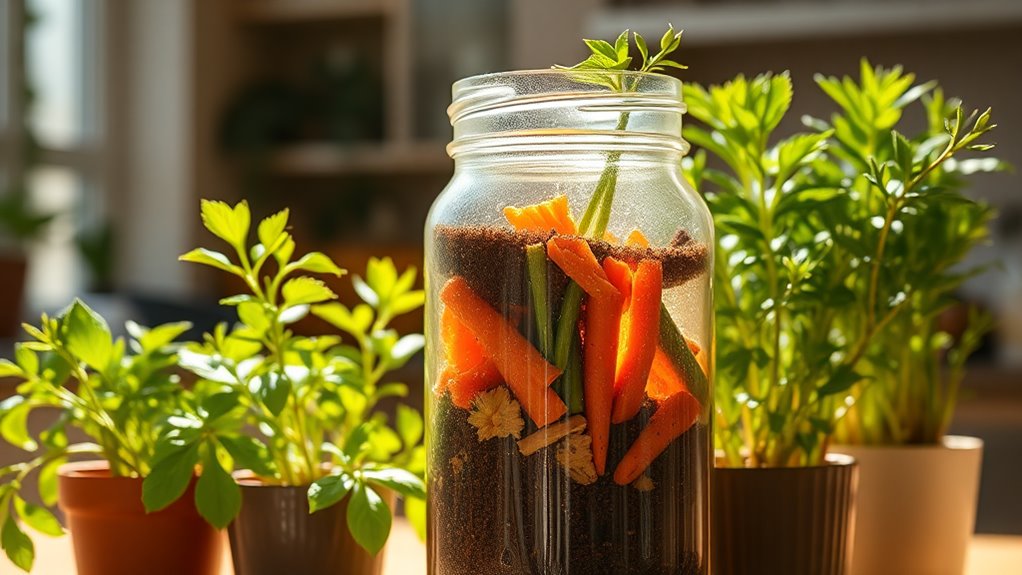
Step-by-Step Guide to Making the Fertilizer
Creating your own fertilizer from kitchen scraps is a rewarding way to nourish your garden while reducing waste. Start by collecting vegetable peels, coffee grounds, and eggshells. Banana peels can also be added to your mix, as they are rich in potassium and phosphorous. Chop them into small pieces and mix together in a compost bin. Turn the mixture regularly for aeration. After a few weeks, you’ll have nutrient-rich fertilizer ready to enrich your garden soil!
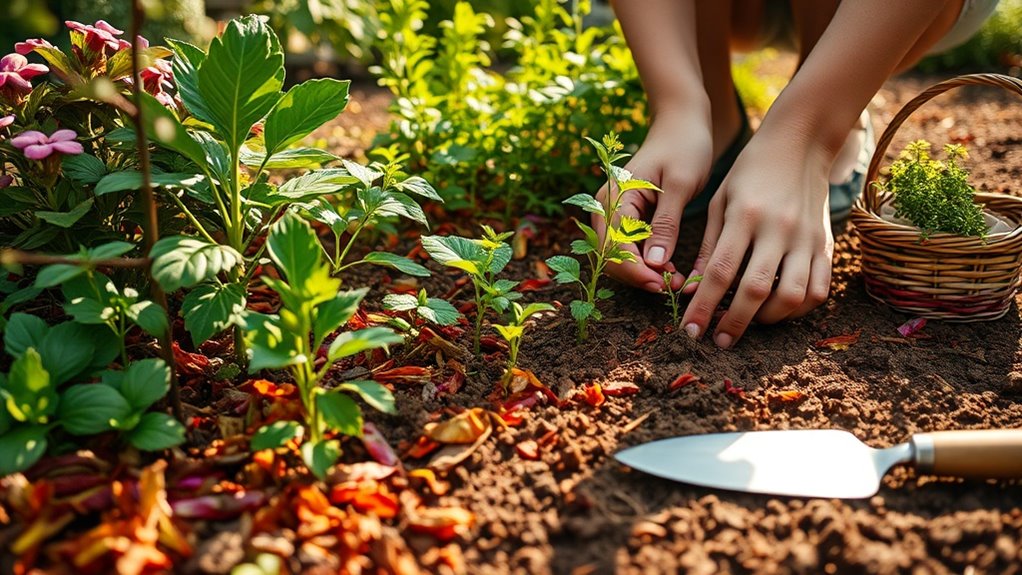
How to Apply the Homemade Fertilizer
Once your homemade fertilizer is ready, you’ll want to apply it effectively to maximize its benefits for your plants.
Here’s how:
-
Dilute: Mix the fertilizer with water for a balanced application.
-
Timing: Apply during early morning or late afternoon for optimal absorption.
-
Frequency: Use every 4-6 weeks during the growing season.
-
Method: Pour around the base to avoid direct contact with leaves. Additionally, using all-natural fertilizers can enhance nutrient availability and encourage healthy soil microbiomes.
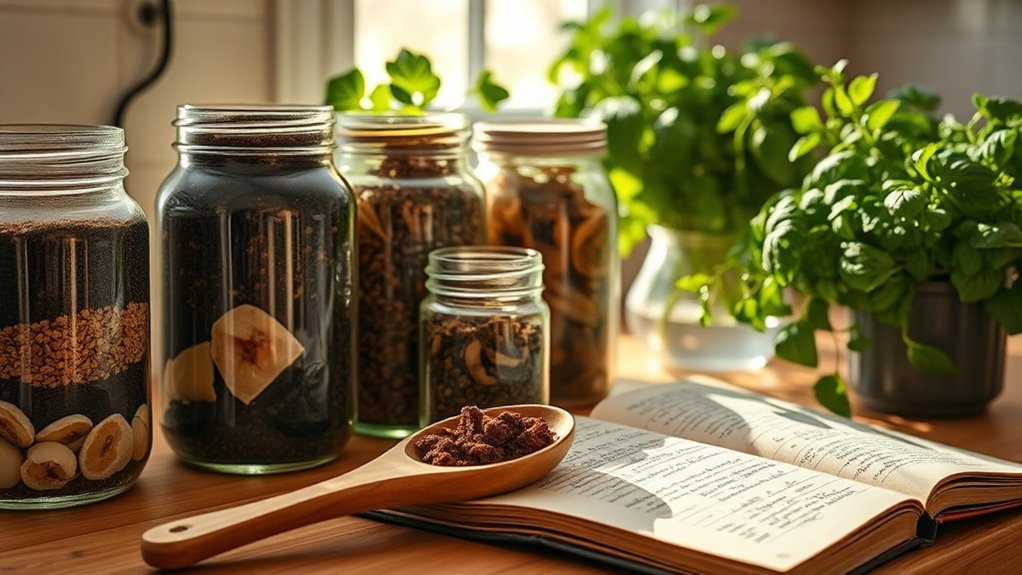
Tips for Storing Your Fertilizer
Properly storing your homemade fertilizer is crucial for maintaining its potency and effectiveness. Use airtight containers to keep moisture and pests at bay, and label them clearly with the date prepared.
Store in a cool, dark place to preserve nutrients. Always test a small amount before application to ensure it’s still effective.
Following these tips makes your fertilizer last longer and work better for your plants.
Success Stories: Transforming Your Garden With Kitchen Scraps
While many gardeners struggle with expensive store-bought fertilizers, countless people have found success by repurposing kitchen scraps into nutrient-rich compost.
Here are four ways kitchen scraps can transform your garden:
- Boost soil fertility.
- Improve moisture retention.
- Attract beneficial worms.
- Reduce waste in landfills.
By incorporating easy home composting into your routine, you can embrace these practices to create a thriving, sustainable garden right at home!