Save Money by Making This All-Natural Garden Fertilizer
If you’re looking to cut costs in your gardening routine, making your own all-natural fertilizer is a practical solution. By using everyday kitchen scraps like eggshells and coffee grounds, you can create a nutrient-rich soil enhancer that benefits your plants without breaking the bank. Curious about how to get started and what materials you’ll need? Let’s explore the simple steps to transform your waste into a valuable resource for your garden.
Key Takeaways
- Utilize kitchen scraps like vegetable and fruit peels to create a nutrient-rich fertilizer, reducing household waste and saving money.
- Gather organic materials such as coffee grounds and eggshells to enhance soil health without purchasing expensive fertilizers.
- Composting yard waste and using Epsom salt can further enrich your homemade fertilizer while being cost-effective and sustainable.
- Store your homemade fertilizer in airtight containers to maintain its potency, reducing the need for frequent purchases.
- Apply your all-natural fertilizer every four to six weeks to promote optimal plant growth without the expense of commercial products.
Benefits of All-Natural Fertilizer
All-natural fertilizers offer numerous advantages for your garden. They’re not only eco-friendly but also promote healthier soil and plant growth. You can easily find cheap organic fertilizer options that enrich your soil without harmful chemicals. These fertilizers improve soil structure, enhance microbial activity, and retain moisture, leading to robust plants. By using all-natural fertilizers, you’ll reduce the risk of nutrient runoff, which is beneficial for local ecosystems. Plus, they often come from readily available materials, making them a sustainable choice. Additionally, using all-natural fertilizer can help you create a thriving garden ecosystem that supports biodiversity. Switching to all-natural fertilizers can be a cost-effective solution that supports your garden’s long-term health and vitality.
Ingredients You’ll Need
To create an effective all-natural garden fertilizer, you’ll need some essential kitchen scraps and natural nutrient sources. Items like vegetable peels, coffee grounds, and eggshells can provide vital nutrients for your plants. Collecting these ingredients will help you enrich your garden soil naturally and sustainably. Additionally, using homemade fertilizer can significantly boost the nutrient content of your soil.
Essential Kitchen Scraps
Creating an effective all-natural garden fertilizer can start right in your kitchen.
You can use a variety of kitchen scraps to enrich your garden.
Eggshells provide calcium, while coffee grounds add nitrogen and improve soil structure.
Fruit and vegetable peels contribute essential nutrients and organic matter.
Banana peels are rich in potassium, promoting healthy plant growth.
If you have leftover tea bags, they can also boost acidity in the soil.
Just remember to chop or blend these scraps into smaller pieces to speed up decomposition.
Natural Nutrient Sources
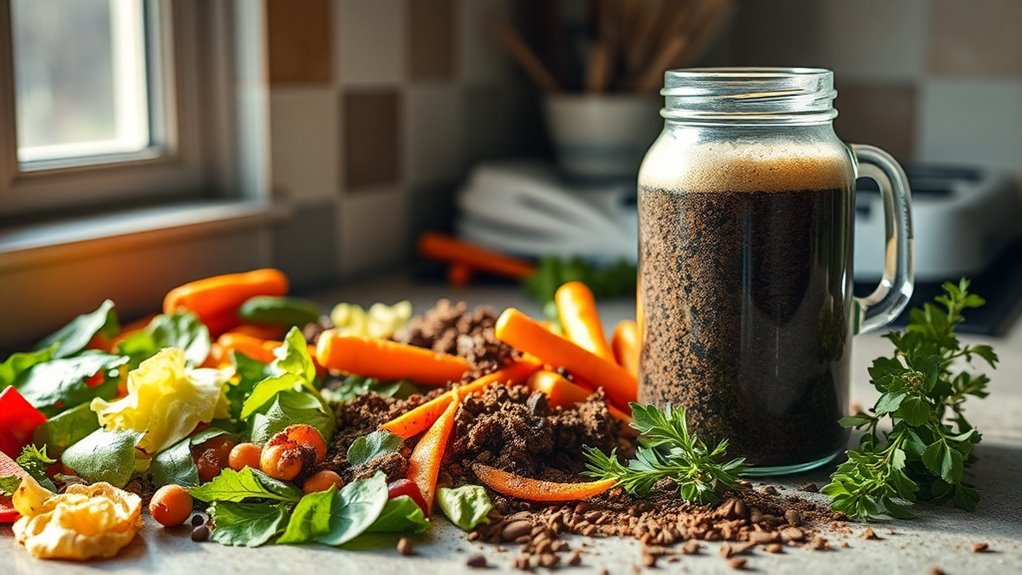
When it comes to crafting your own natural fertilizer, several key ingredients can provide essential nutrients for your plants.
Start with kitchen scraps like fruit peels and vegetable trimmings, which add nitrogen and phosphorus. Coffee grounds boost acidity and attract beneficial microbes. Eggshells supply calcium, while banana peels offer potassium.
You can also use composted yard waste for a nutrient-rich mix. Don’t forget about Epsom salt; it enhances magnesium levels.
Combine these natural sources, and you’ll create a powerful fertilizer that promotes healthy growth. Just remember to balance the ingredients for optimal results and watch your garden thrive!
Step-by-Step Instructions
Starting with your all-natural garden fertilizer can be straightforward and rewarding.
Follow these steps to create your own blend:
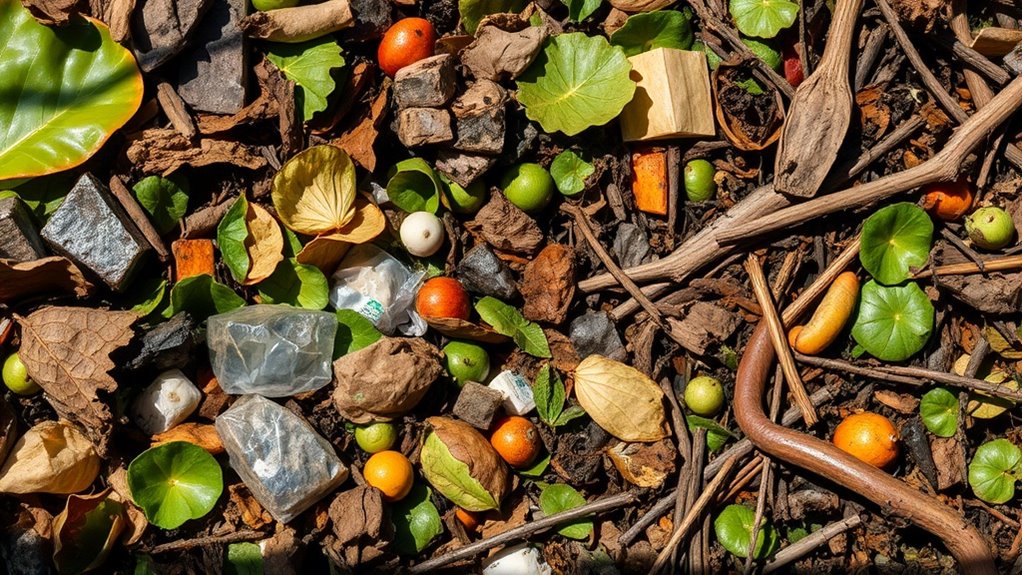
- Gather organic materials like kitchen scraps, grass clippings, or coffee grounds.
- Chop or shred larger items to speed up decomposition.
- Combine your materials in a compost bin or pile, ensuring good airflow.
- Add water to keep the mixture moist but not soggy.
- Turn the pile every few weeks to aerate and promote breakdown.
In just a few weeks, you’ll have nutrient-rich fertilizer ready to boost your garden’s growth while saving money and reducing waste! Additionally, using fast composting techniques can further enhance the speed of your composting process.
Tips for Application
How can you effectively apply your all-natural garden fertilizer for the best results?
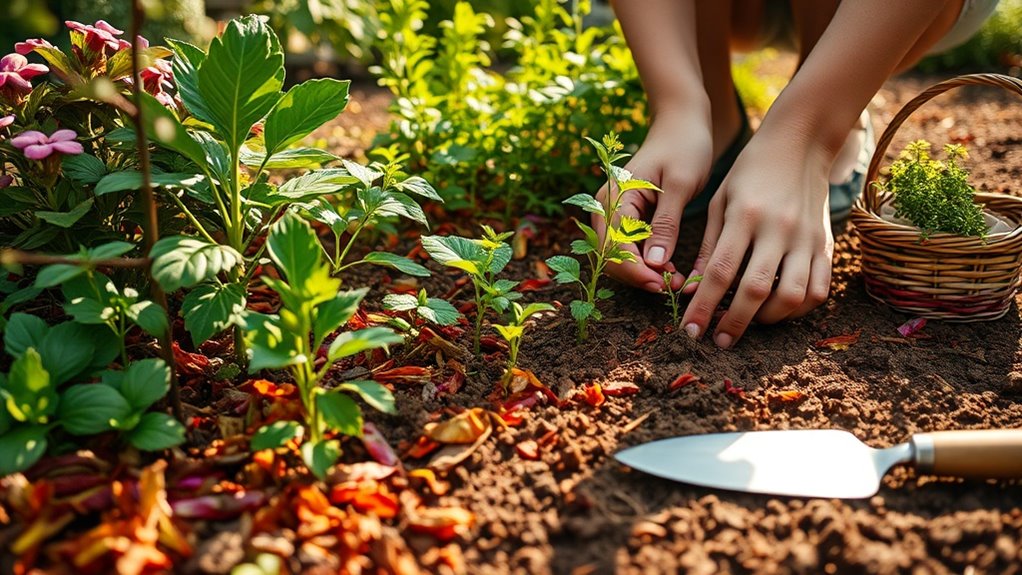
Start by choosing the right time—early morning or late afternoon works best to avoid evaporation. Use a watering can or spray bottle for even distribution. Apply it directly to the soil, avoiding leaves to prevent burns.
If you’re using a dry fertilizer, sprinkle it evenly around the base of plants and gently mix it into the soil. Additionally, you can transform banana peels into a nutrient-rich fertilizer by simply chopping them up and adding them to your compost or directly to the soil.
Remember to water your plants afterward to help the nutrients soak in.
Finally, repeat this application every four to six weeks for optimal growth and health. Happy gardening!
Best Plants for All-Natural Fertilizer
When choosing plants for all-natural fertilizer, consider nitrogen-rich green plants like clover or alfalfa, which boost soil health. You can also utilize nutrient-dense fruit scraps from your kitchen, such as banana peels and apple cores, to enrich your garden. Banana peels are particularly beneficial because they are rich in potassium and phosphorus, essential nutrients that promote healthy plant growth. Incorporating these options will help create a thriving, eco-friendly garden.
Nitrogen-Rich Green Plants
Nitrogen-rich green plants play a crucial role in creating all-natural fertilizers that boost soil health and promote plant growth.
By incorporating these plants into your garden, you can enhance nutrient availability in the soil. Here are some excellent options to consider:
- Comfrey: Packed with potassium and nitrogen, it’s great for composting.
- Alfalfa: A legume that fixes nitrogen in the soil, improving fertility.
- Nettles: Rich in nutrients, they make a potent fertilizer when steeped in water.
- Vetch: Another legume that enhances nitrogen levels.
- Clover: Excellent for cover cropping and enriching the soil.
Using these plants can significantly benefit your garden!
Nutrient-Dense Fruit Scraps
Incorporating nutrient-dense fruit scraps into your gardening routine can significantly enhance the quality of your all-natural fertilizer.
Fruits like bananas, apples, and citrus peels are rich in essential nutrients, including potassium, phosphorus, and magnesium.
Simply chop these scraps and mix them into your compost pile or directly into the soil.
You’ll be feeding beneficial microorganisms while enriching your garden.
Moreover, avoid adding any diseased or moldy fruit scraps to prevent harmful bacteria.
Common Mistakes to Avoid
How can you ensure your garden thrives without making common mistakes?
Avoid these pitfalls when using homemade fertilizer:
- Over-fertilizing: Too much can harm plants; stick to recommended amounts.
- Ignoring pH levels: Test your soil to ensure it’s suitable for your plants.
- Using non-composted materials: Fresh scraps can introduce pathogens; always compost first.
- Neglecting application timing: Fertilize during active growth periods for best results.
- Not monitoring plant response: Keep an eye on your plants’ health and adjust accordingly. Additionally, common gardening mistakes can lead to plant stress and reduced yields, so be vigilant in your practices.
Storing Your Homemade Fertilizer
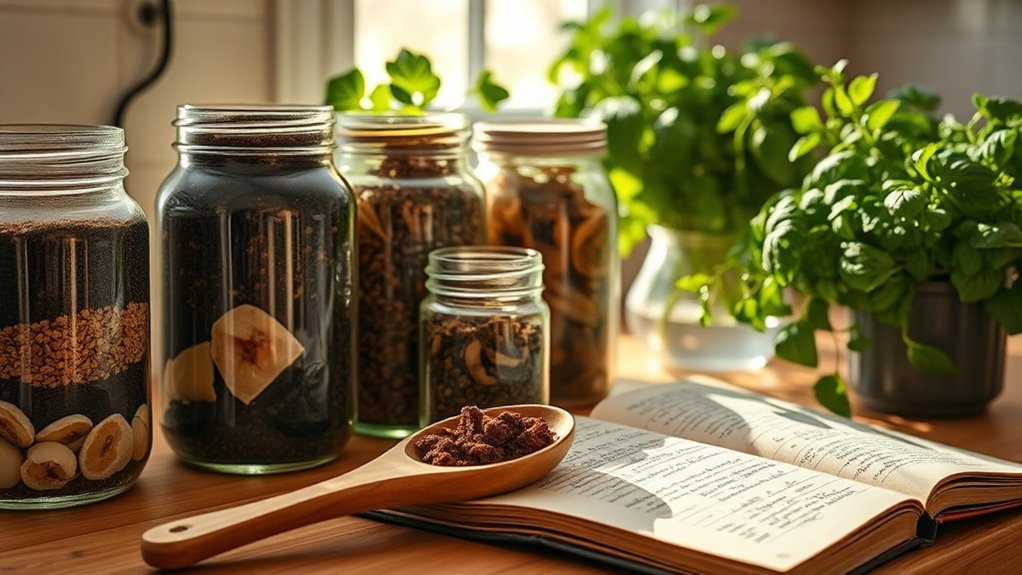
After avoiding common mistakes, the next step is to focus on storing your homemade fertilizer properly. Proper storage ensures it retains its potency and effectiveness for your garden. Use airtight containers to prevent moisture and pests. Label each container with the date and ingredients for easy reference. Additionally, consider using natural ingredients in your fertilizer for optimal plant health.
| Container Type | Ideal Conditions | Shelf Life |
|---|---|---|
| Glass Jars | Cool, dark place | 6 months |
| Plastic Buckets | Dry, shaded area | 3 months |
| Compost Bags | Ventilated, dry space | 1 year |
Following these tips will keep your fertilizer fresh and ready to use!