Make This DIY Fertilizer at Home Using Kitchen Scraps
Did you know that kitchen scraps can transform your garden into a thriving ecosystem? By turning these leftovers into DIY fertilizer, you not only reduce waste but also enrich your soil without spending a dime. It’s easier than you think, and the benefits go beyond just saving money. Curious about what scraps to collect and how to prepare them? Let’s explore the steps to create your own nutrient-rich fertilizer.
Key Takeaways
- Collect kitchen scraps like fruit and vegetable peels, coffee grounds, and eggshells while avoiding meat, dairy, and oils to prevent pests.
- Chop larger scraps into smaller pieces to speed up decomposition and mix them with dry materials in a compost bin.
- Layer the kitchen scraps with browns, such as dried leaves or paper, and moisten lightly to encourage microbial activity.
- Apply the homemade fertilizer during the growing season, mixing it into the soil before planting or side-dressing established plants.
- Store the fertilizer in airtight containers to maintain freshness and prevent moisture and pest issues.
Understanding the Benefits of Homemade Fertilizer
Why should you consider making your own fertilizer from kitchen scraps?
Homemade fertilizer isn’t only eco-friendly but also cost-effective. By using what you already have, you reduce waste and give your plants the nutrients they crave.
You’ll find that homemade fertilizer improves soil structure, enhances microbial activity, and promotes healthier plants. Additionally, using common kitchen scraps allows you to maximize your gardening resources while minimizing your environmental impact.
Plus, it’s customizable—tailor your mix to suit the specific needs of your garden.
There’s a certain satisfaction in nurturing your plants with something you created, connecting you more deeply to your gardening experience.
Start your journey toward sustainable gardening with the incredible benefits of homemade fertilizer!
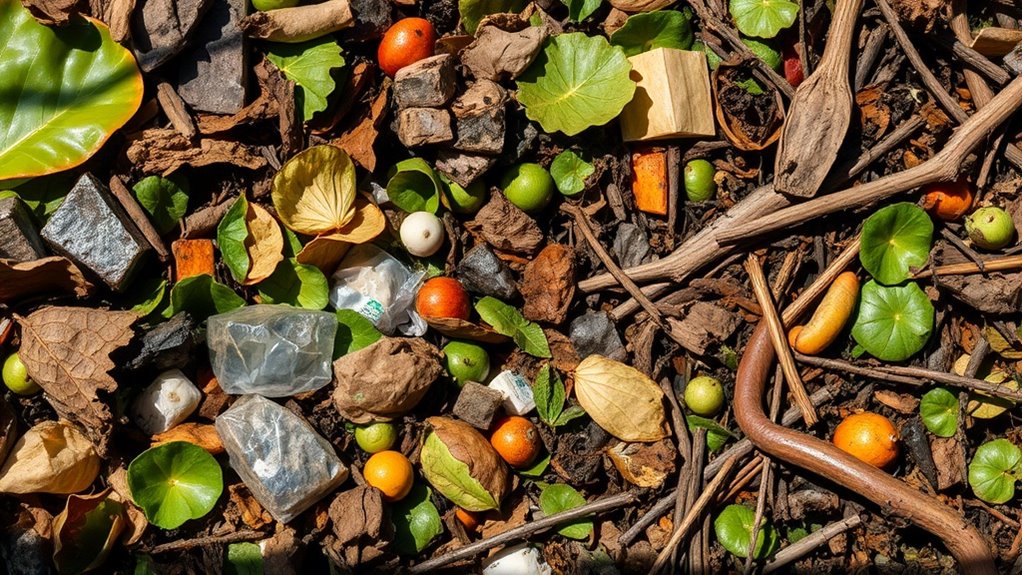
Collecting Kitchen Scraps for Fertilizer
As you embark on your journey to create homemade fertilizer, collecting kitchen scraps is a practical first step that can make a significant difference in your garden’s health.
Start by designating a container in your kitchen for easy access.
Remember to gather scraps daily—think fruit and vegetable peels, coffee grounds, and eggshells.
Be mindful to avoid meat, dairy, and oils, as they can attract pests.
By consistently collecting these materials, you’ll not only reduce waste but also enrich your soil. Incorporating odor-free composting into your routine can further enhance the quality of your homemade fertilizer.
It’s a simple habit that supports sustainability and fosters a thriving garden, all while keeping your kitchen clutter-free.
Types of Kitchen Scraps to Use
You can make a powerful DIY fertilizer by using common kitchen scraps like fruit and vegetable peels. Coffee grounds and filters are also excellent additions, providing essential nutrients to your plants. Additionally, banana peels are rich in potassium and can significantly enhance plant growth and health in your garden. Let’s explore how these everyday items can enrich your garden soil.
Fruit and Vegetable Peels
Have you ever considered the potential of fruit and vegetable peels as a powerful ingredient for your DIY fertilizer?
These peels are rich in nutrients that can boost your garden’s health.
Here are four peels you can use:
- Banana Peels: High in potassium, they promote flowering and fruiting.
- Potato Peels: Packed with vitamins, they enrich the soil.
- Carrot Peels: Full of calcium, they strengthen plants.
- Apple Peels: Contain pectin, which improves soil structure.
Simply chop them up, add them to your compost, or bury them in your garden beds for a natural fertilizer boost!
Coffee Grounds and Filters
Coffee grounds and filters are often overlooked treasures in your kitchen scraps, offering a wealth of benefits for your garden.
Rich in nitrogen, coffee grounds can boost your compost or soil, promoting healthy plant growth.
Simply sprinkle the grounds directly onto your garden or mix them into your compost pile.
Don’t forget the filters! They’re biodegradable and can break down, adding organic matter to your soil.
If you’ve got a worm bin, worms love coffee grounds too.
Just remember to use them in moderation, as too much can affect soil acidity.
Your plants will thank you for this simple addition!
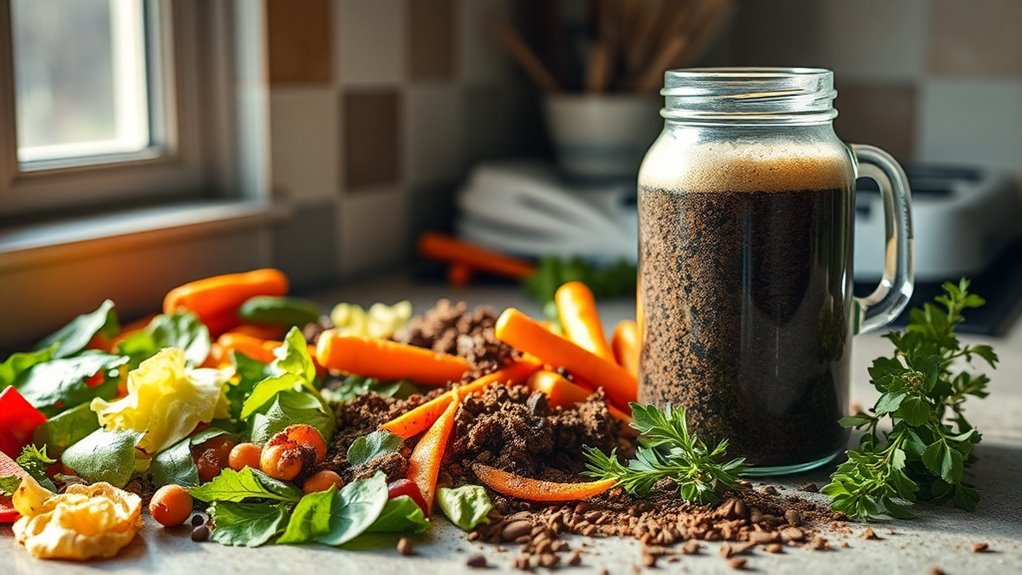
How to Prepare Your Kitchen Scrap Fertilizer
How can you turn everyday kitchen scraps into a nutrient-rich fertilizer for your garden? It’s simple! Follow these steps to prepare your DIY fertilizer:
- Collect Scraps: Gather vegetable peels, fruit scraps, coffee grounds, and eggshells.
- Chop: Cut larger pieces into smaller bits to speed up decomposition.
- Layer: Mix your scraps in a compost bin or pile, alternating with dry materials like leaves or cardboard.
- Moisten: Lightly water the mixture to encourage microbial activity, but avoid soaking.
Additionally, by maintaining a balanced mix of greens and browns, you can enhance the fast composting process, leading to quicker results.
After a few weeks, your homemade fertilizer will be ready to enrich your soil and boost plant health!
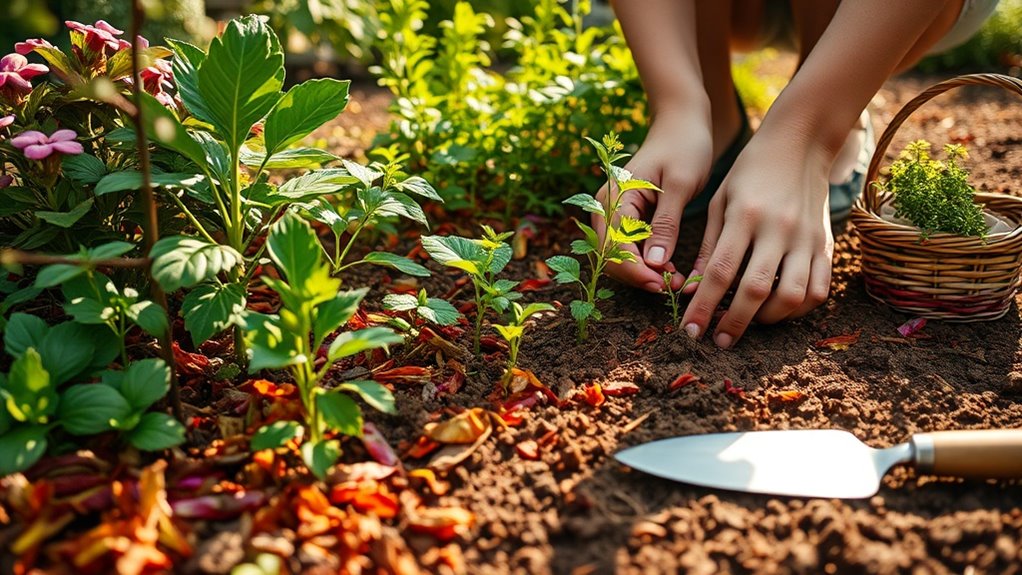
Using Your DIY Fertilizer in the Garden
When should you start using your DIY fertilizer in the garden?
Ideally, apply it during the growing season, when your plants need nutrients the most. Before planting, mix it into the soil to boost its fertility. Once your plants are established, you can side-dress them with the fertilizer every few weeks. Just be careful not to over-fertilize; a little goes a long way! Look for signs your plants need a boost, like yellowing leaves or stunted growth. By using your DIY fertilizer wisely, you’ll nurture a thriving garden while reducing waste in the process. Additionally, incorporating natural ingredients into your fertilizer can enhance its effectiveness and promote optimal plant health.
Happy gardening!
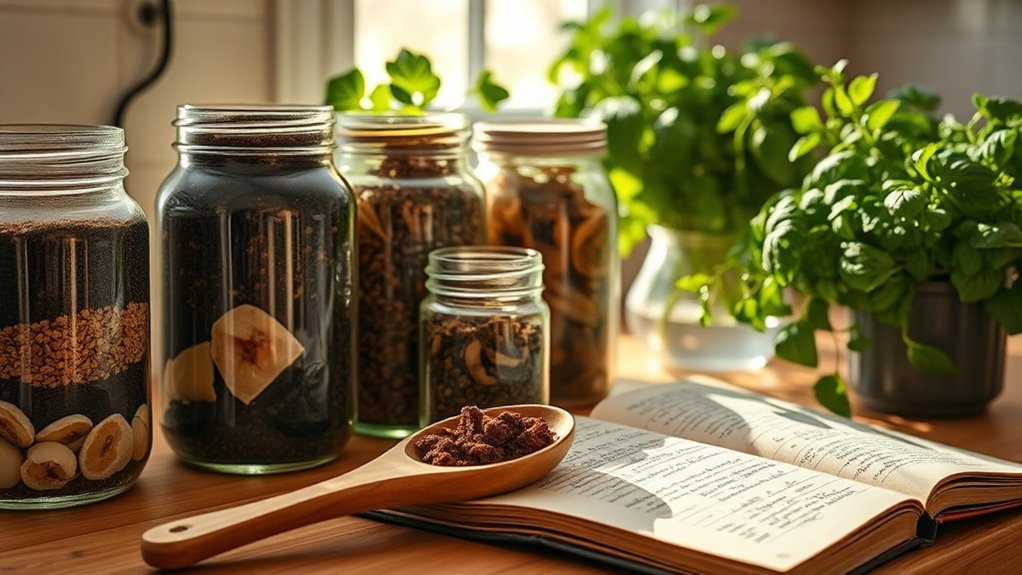
Tips for Storing and Maintaining Fertilizer
Wondering how to keep your DIY fertilizer fresh and effective?
Proper storage and maintenance are key!
Here are some tips to help you out:
- Use airtight containers: Store your fertilizer in glass or plastic containers to prevent moisture and pests.
- Keep it cool: Find a dark, cool spot for storage; heat can degrade nutrients.
- Label your containers: Clearly mark the contents and date to keep track of freshness.
- Check regularly: Inspect for any signs of spoilage or pests, and discard any compromised batches.
Additionally, using all-natural ingredients in your fertilizer can help enhance its effectiveness and provide essential nutrients for your plants.
Following these tips will ensure your homemade fertilizer stays potent and ready for your garden!
Additional Ways to Enrich Your Soil
Have you considered the many ways to enrich your soil beyond just DIY fertilizer?
Incorporating organic matter like compost or well-rotted manure can boost soil structure and fertility.
Mulching with leaves or grass clippings helps retain moisture and suppress weeds.
You might also plant cover crops, like clover or rye, to naturally add nutrients and prevent erosion.
Additionally, using earthworms or introducing beneficial microbes can enhance soil health.
Remember, rotating your crops each season prevents nutrient depletion and pest buildup.
One effective method is to transform banana peels into nutrient-rich fertilizer, which can provide essential potassium and phosphorus for your plants.