Stop Buying Fertilizer-Make This Powerful Mix at Home
If you’re tired of spending money on commercial fertilizers, consider crafting your own nutrient-rich mix at home. By utilizing common kitchen scraps like coffee grounds, banana peels, and eggshells, you can create a sustainable solution tailored to your garden’s needs. This method not only saves you money but also reduces waste. Curious about how to effectively combine these ingredients for optimal results? Let’s explore the essential components and the process involved.
Key Takeaways
- Utilize kitchen scraps and yard waste to create a cost-effective homemade fertilizer that nourishes plants naturally.
- Combine nitrogen sources like coffee grounds, phosphorus from bone meal, and potassium from banana peels for balanced nutrition.
- Follow simple steps: chop ingredients, mix thoroughly, add water, and let decompose for several weeks to enhance nutrient quality.
- Apply during the growing season using a diluted mixture to ensure optimal nutrient absorption without risking plant health.
- Store your homemade fertilizer in airtight containers in a cool, dry place to maintain freshness and prevent degradation.
The Benefits of Homemade Fertilizer
Why should you consider making fertilizer at home?
Homemade fertilizer offers numerous advantages.
First, it’s cost-effective; you can utilize kitchen scraps and yard waste, reducing waste and expenses.
Second, homemade garden feed is customizable, allowing you to tailor nutrient content to your plants’ specific needs.
Third, it’s environmentally friendly, minimizing chemical runoff and promoting soil health.
Additionally, creating your own fertilizer fosters a deeper connection to your garden, enhancing your gardening experience.
Lastly, you gain control over ingredients, ensuring your plants receive safe, natural nutrients.
Moreover, many homemade fertilizers use simple ingredients that are easily accessible, promoting healthy plant growth without the need for expensive commercial products.
Embracing homemade fertilizer isn’t just practical; it’s a sustainable choice for any gardener.
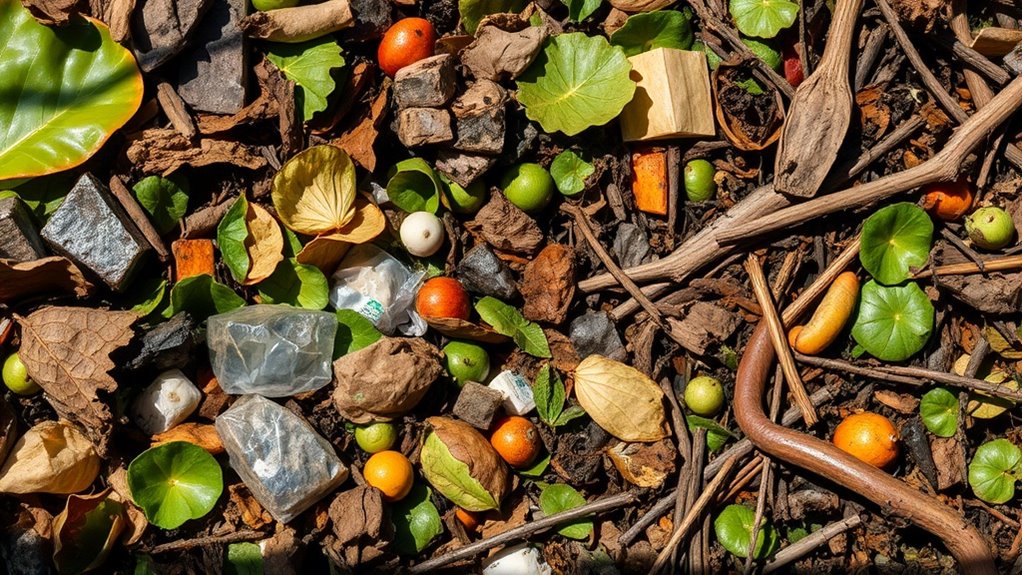
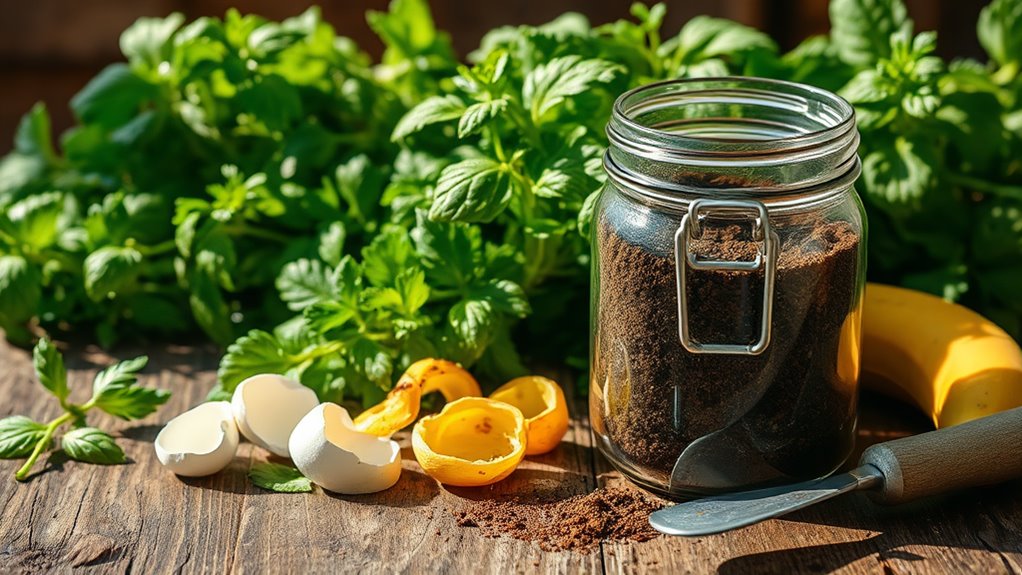
Essential Ingredients for Your Mix
Creating your own fertilizer allows you to select the specific ingredients that best suit your plants.
Start with nitrogen sources like coffee grounds or grass clippings, which promote leafy growth.
For phosphorus, consider bone meal or rock phosphate, essential for root development and flowering.
Potassium can be sourced from wood ash or banana peels, aiding overall plant health.
Additionally, you might include micronutrients such as crushed eggshells for calcium.
Lastly, organic matter like compost enriches the mix, improving soil structure and microbial activity. This DIY fertilizer recipe ensures optimal plant health by providing a balanced nutrient profile for your garden.
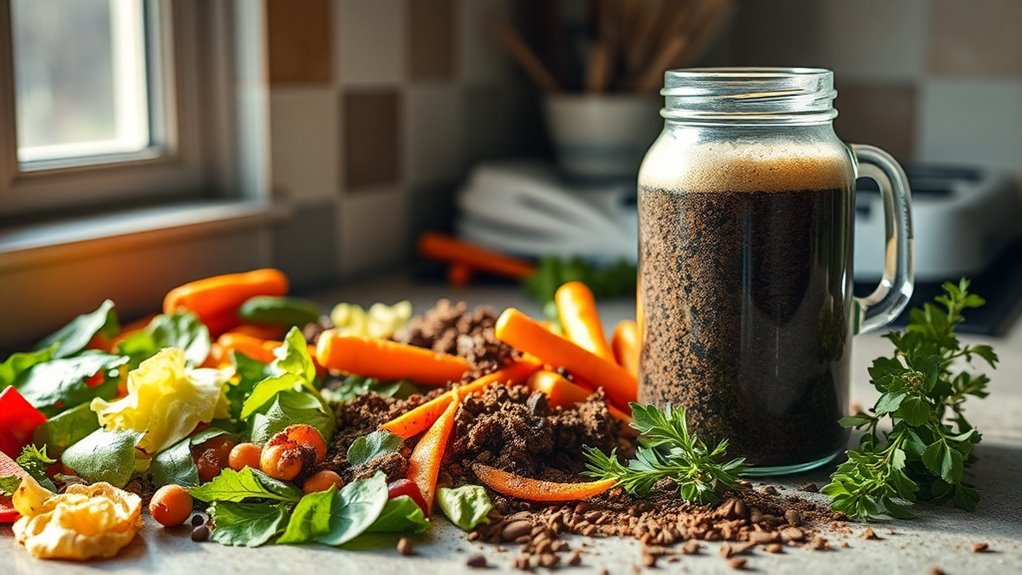
Step-by-Step Guide to Making Your Fertilizer
Once you’ve gathered your essential ingredients, making your fertilizer is straightforward and rewarding.
Start by measuring equal parts of your chosen components, ensuring you maintain the right balance. Mix them thoroughly in a large container, using a shovel or trowel to break up clumps.
Next, add water gradually, aiming for a moist but not soggy consistency. Stir until everything is well combined.
Allow the mixture to sit for a few days, letting the nutrients blend. This process enhances the effectiveness of your homemade fertilizer, as nutrient-rich kitchen scraps contribute to a more balanced mixture.
Finally, store your homemade fertilizer in a sealed container, ready for use. You’ve now created an effective, eco-friendly alternative to store-bought fertilizers.
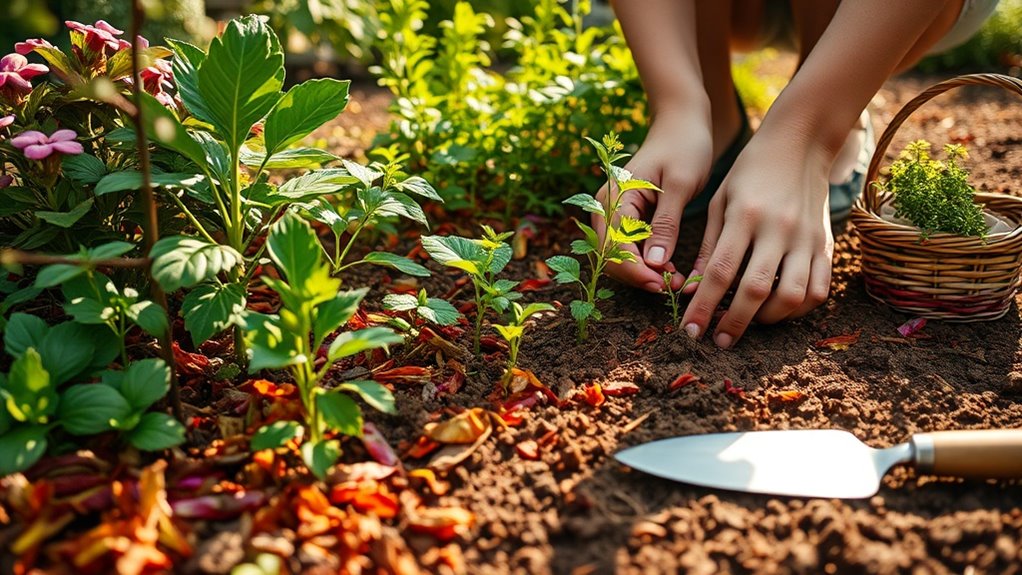
How to Apply Your Homemade Fertilizer
Applying your homemade fertilizer correctly is crucial for maximizing its benefits. You’ll want to consider various application techniques, the timing for optimum results, and adhere to dosage and frequency guidelines. Additionally, using compost tea can significantly enhance nutrient availability for your plants.
Application Techniques Explained
Understanding the best application techniques for your homemade fertilizer can significantly enhance your plants’ growth and health.
Start by ensuring the soil is moist before applying the fertilizer, as this helps with nutrient absorption.
Use a watering can or a sprayer for even distribution; avoid clumping.
If applying granules, sprinkle them around the base of the plants, keeping them a few inches away from the stems to prevent burn.
For liquid fertilizers, dilute as recommended and apply during the early morning or late afternoon to minimize evaporation.
Regularly monitor your plants’ response and adjust application rates accordingly.
Timing for Maximum Effect
To achieve the best results with your homemade fertilizer, timing your applications is key.
You should consider the growth stages of your plants.
Apply your fertilizer during the active growing season, typically spring and early summer.
This is when plants can absorb nutrients effectively.
Additionally, timing your applications right before a rainfall or watering can enhance nutrient uptake, as moisture helps dissolve and distribute the fertilizer.
Avoid applying during extreme heat or drought, as plants may stress and not absorb nutrients well.
Dosage and Frequency Guidelines
Proper dosage and frequency are crucial for the success of your homemade fertilizer.
To start, dilute your mixture to a ratio of 1:10 with water for general use. Apply this solution every two to four weeks during the growing season.
For more nutrient-demanding plants, consider a 1:5 ratio, but only once every three weeks.
Always monitor your plants’ reactions; yellowing leaves may indicate over-fertilization. Conversely, slow growth could signal nutrient deficiency.
Adjust the dosage accordingly, ensuring you provide nutrients without overwhelming your plants.
Consistent application will promote healthy growth and robust yields while protecting your plants from nutrient burn.
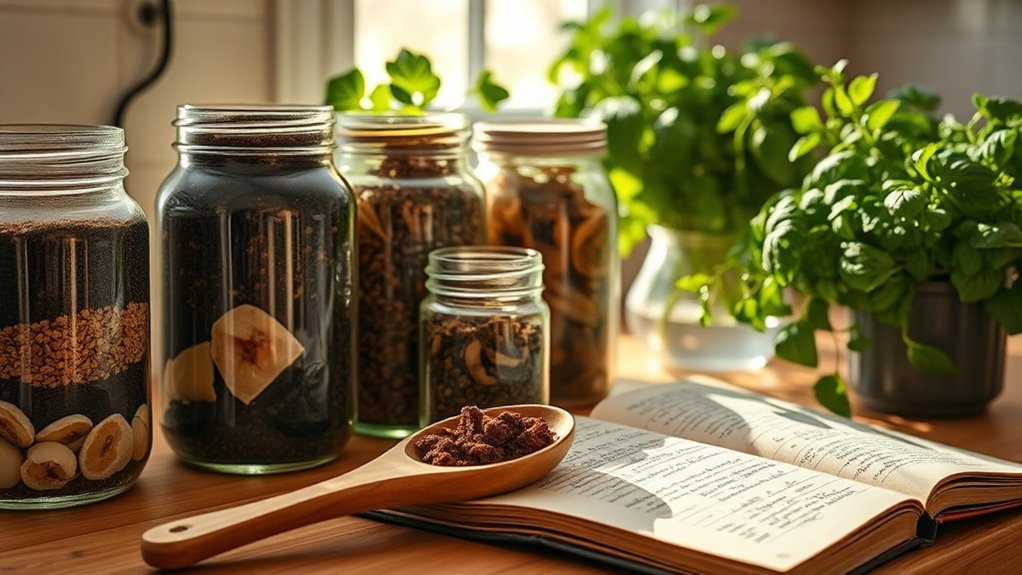
Tips for Storing Your Fertilizer
Storing your homemade fertilizer properly is crucial for maintaining its effectiveness.
Use airtight containers to prevent moisture from degrading the nutrients, and always keep your fertilizer in a dry location. Additionally, labeling and dating your containers helps you track freshness and ensures you’re using the best product for your plants. To enhance your fertilizer’s nutrient content, consider adding compost from your bin, which can provide a rich source of organic matter and beneficial microorganisms.
Choose Airtight Containers
Choosing airtight containers is essential for preserving the quality of your homemade fertilizer.
Proper storage ensures that your mixture remains effective and free from contaminants.
Here are four reasons to invest in airtight containers:
- Prevents Air Exposure: Reduces oxidation, which can degrade nutrients.
- Keeps Pests Out: Protects against insects and rodents that can spoil your fertilizer.
- Maintains Moisture Levels: Helps control humidity, ensuring your mixture stays dry and potent.
- Facilitates Organization: Makes it easier to label and store different types of fertilizers, optimizing your gardening routine.
Protect your investment by choosing the right storage solutions!
Keep Away From Moisture
While you may be excited to use your homemade fertilizer, it’s crucial to keep it away from moisture to maintain its efficacy.
Moisture can lead to clumping, nutrient loss, and even spoilage of your mixture.
Store your fertilizer in a cool, dry place, ideally in a temperature-controlled environment.
Avoid areas prone to humidity, like basements or near water sources.
If you notice any signs of dampness, consider transferring your fertilizer to a different container.
Using desiccants or moisture-absorbing packets in your storage can also help.
Label and Date Clearly
To ensure you always know what’s in your fertilizer containers, labeling and dating them is essential.
This practice not only helps you track what you have but also prevents mix-ups and ensures you’re using the right mix at the right time.
Follow these tips for effective labeling:
-
Include the Fertilizer Type: Clearly state what nutrients are in the mix.
-
Add Date of Preparation: Write when you made the fertilizer.
-
Specify Application Instructions: Briefly note how to use it.
-
Store in a Safe Place: Keep containers in a cool, dry area to maintain quality.
Common Mistakes to Avoid
What pitfalls should you watch out for when making fertilizer at home?
First, don’t skip the research; each ingredient has specific nutrient profiles that can affect your plants differently. Additionally, understanding easy home composting can help you create a balanced mix that benefits your garden. Avoid using overly fresh kitchen scraps, as they can attract pests or create odors. Also, be cautious about mixing too many ingredients; this can lead to imbalances that harm rather than help your garden. Lastly, don’t neglect proper storage; moisture can cause mold, ruining your mix.
Enhancing Your Garden’s Health With Organic Practices
How can you cultivate a thriving garden while minimizing environmental impact?
By adopting organic practices, you can enhance your garden’s health naturally.
Here are four effective strategies:
- Compost: Create nutrient-rich compost from kitchen scraps and yard waste. This process can be odor-free composting when done correctly, ensuring a pleasant gardening experience.
- Crop Rotation: Rotate your plants annually to prevent soil depletion and reduce pests.
- Mulching: Use organic mulch to retain moisture, suppress weeds, and improve soil quality.
- Natural Pest Control: Encourage beneficial insects and use natural repellents instead of chemical pesticides.
Implementing these practices won’t only boost your garden’s health but also contribute positively to the environment.